
If you’re looking to add depth and visual interest to your walls, texturing is a fantastic option. And the best part? You can achieve professional-looking results right at home with a simple tool—a roller. In this guide, we’ll walk you through the process of texturing a wall with a roller, from prepping the surface to adding the finishing touches. Get ready to give your walls a whole new dimension!
How Wall Texture Works:
Before diving into the process, let’s quickly understand how wall texture works. Texture creates variations on the surface of the wall, adding depth and character. It helps to conceal imperfections, such as small dents or uneven surfaces, and can enhance the overall aesthetics of the room.
Texturing a Wall With Texture Machine vs. Roller:
While texture machines offer a convenient way to texture walls, using a roller is a more accessible and cost-effective option for most DIY enthusiasts. Rollers provide control and allow you to achieve a variety of texture patterns. They are versatile, easy to use, and require minimal setup.
Patch Surface:
Begin by inspecting the wall for any cracks, holes, or imperfections. Use a suitable patching compound to fill these areas, following the manufacturer’s instructions. Allow the compound to dry thoroughly and sand the patched areas until smooth.
Prime Surface:
Applying a coat of primer before texturing is essential. It helps the texture compound adhere better to the wall and ensures a more even finish. Use a high-quality primer and follow the instructions for application and drying time.
Mix Texture Compound:
Prepare the texture compound by following the instructions on the packaging. Mix it thoroughly until you achieve a smooth and workable consistency. Be sure to wear protective gear, such as gloves and goggles, when handling the compound.
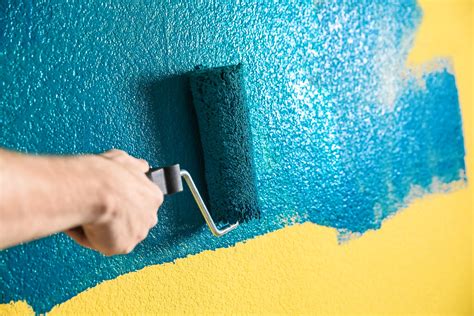
Roll Out Wall Texture:
Pour the mixed texture compound into a paint tray. Load a texture roller with the compound, making sure to distribute it evenly across the roller. Begin rolling the compound onto the wall, starting from the top and working your way down. Apply gentle pressure and maintain a consistent motion to achieve a uniform texture.
Reach Tight Areas With Brush:
For corners, edges, and other tight areas where the roller cannot reach, use a brush or a smaller roller. Dip the brush into the texture compound and apply it carefully to these areas. Ensure that the texture matches the rest of the wall.
Let Texture Dry:
Allow the textured wall to dry completely according to the manufacturer’s instructions. The drying time can vary depending on the type of texture compound used. Avoid touching or disturbing the surface during this time to ensure a flawless finish.
Texture Second Time:
For a more pronounced texture or to correct any imperfections, you can apply a second layer of texture compound once the first layer has dried. Follow the same process of rolling and brushing as before, ensuring consistency throughout the wall.
Create Knock-Down Surface (Optional):
If you prefer a subtle texture, you can create a knock-down finish. After the texture compound has dried but is still slightly damp, use a trowel or a drywall knife to smooth out the texture gently. This technique creates a partially flattened surface, adding depth without being too prominent.
Paint Homemade Texture:
Once the textured wall is completely dry, you can proceed with painting. Choose a paint color that complements your interior design and apply it using a roller or a brush, depending on the texture and the size of the wall. Be mindful of the drying time between coats and follow the paint manufacturer’s instructions.
Tips For Texturing a Wall:
– Experiment with different roller textures and techniques on a small test area
before starting on the entire wall.
– Maintain a consistent pattern and pressure while rolling to achieve an even texture.
– Work in small sections to ensure the texture compound doesn’t dry out before you can roll it.
– Consider the lighting in the room when choosing a texture pattern, as it can enhance or diminish the effect.
– Keep a wet cloth or sponge nearby to clean up any spills or excess texture compound.
When to Call a Professional:
While texturing a wall with a roller is a manageable DIY project, there are instances when it’s best to seek professional assistance:
– If the wall has significant structural or moisture-related issues.
– If you’re unsure about working with texture compounds or lack the necessary tools.
– For large-scale projects or complex texture patterns that require specialized skills.
FAQs about Texturing a Wall:
1. Can I texture a wall without using a primer?
Using a primer is highly recommended before applying texture. It helps the texture compound adhere better and ensures a smoother and more durable finish.
2. What type of roller should I use for wall texturing?
For most wall texturing projects, a thick-nap roller is ideal. It holds more texture compound and creates deeper patterns. Choose a roller with a nap length suitable for your desired texture depth.
3. How long does it take for textured walls to dry?
The drying time of textured walls can vary depending on factors such as the type of texture compound used, humidity levels, and ventilation. It’s crucial to follow the manufacturer’s instructions regarding drying time to ensure a proper finish.
Conclusion:
Texturing your walls with a roller is an excellent way to add personality and dimension to your living spaces. With the right preparation, technique, and patience, you can achieve professional-looking results that will transform the ambiance of your home. Remember to follow safety guidelines, experiment with different patterns, and enjoy the creative process of texturing your walls.
So, gather your materials, put on your DIY hat, and get ready to give your walls a textured makeover that will leave a lasting impression!
Similar posts:
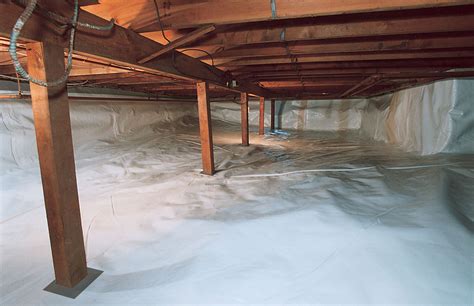 How to Insulate a Crawl Space: A Step-by-Step Guide
 What is the expense involved in replacing a garbage disposal unit?
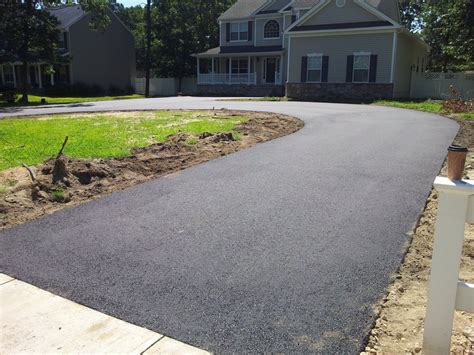 Guide to Installing Asphalt Driveways: Everything You Need to Know
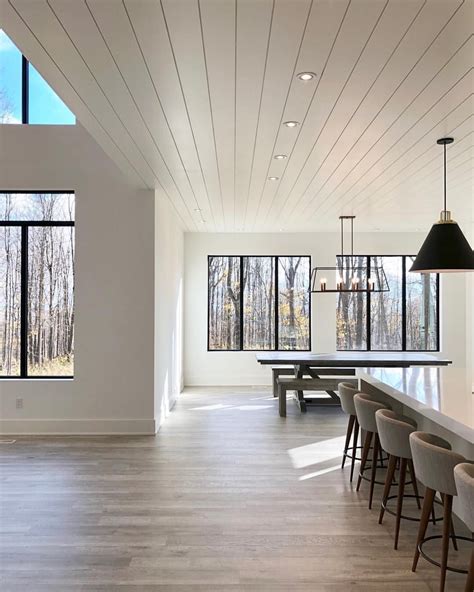 How to Install Shiplap on a Ceiling: A Step-by-Step Guide
 Steps to Construct a Temporary Partition Wall
 How to Grow and Care for String of Pearls Plant: A Comprehensive Guide