
Anatomy of a Gravity-Flush Toilet
Understanding the different components of a gravity-flush toilet will help you navigate the process of replacing a toilet flapper with ease. Here are the key parts:
1. Fill Valve
The fill valve is responsible for refilling the toilet tank with water after each flush.
2. Toilet Tank
The toilet tank holds the water necessary for flushing the toilet and houses various components.
3. Flush Valve
The flush valve is a rubber or plastic mechanism at the bottom of the tank that controls the release of water into the toilet bowl during flushing.
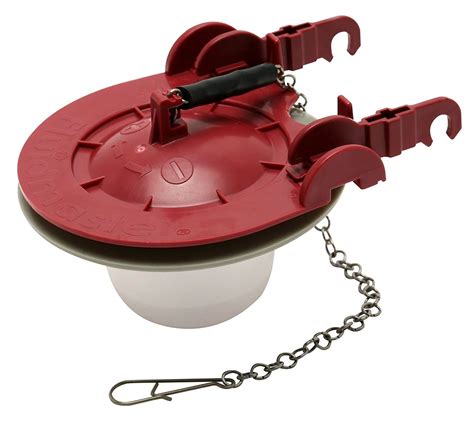
4. Flapper
The flapper is a rubber or silicone seal connected to the flush valve. It lifts during flushing to allow water to flow from the tank into the bowl.
5. Handle and Lever
The handle and lever are external components that trigger the flushing mechanism when pressed.
6. Overflow Tube
The overflow tube prevents the toilet tank from overflowing by redirecting excess water into the toilet bowl.
7. Toilet Bowl and Trap
The toilet bowl is where waste is collected and flushed away through the trap into the sewage system.
Diagnosing a Running Toilet
Before replacing the flapper, it’s important to identify whether a faulty flapper is the cause of your running toilet. Here’s how you can diagnose the problem:
[Include content for diagnosing a running toilet]
Replacing a Toilet Flapper: Step-by-Step Guide
Follow these simple steps to replace a worn-out or malfunctioning toilet flapper:
1. Turn Off the Water
Locate the water shut-off valve near the base of the toilet and turn it clockwise to shut off the water supply.
2. Remove the Old Flapper
Disconnect the flapper chain from the flush lever and remove the flapper from the flush valve. Take note of the flapper’s orientation and how it attaches to the valve.
3. Prepare the New Flapper
Ensure the replacement flapper matches the old one in terms of size and design. Follow the manufacturer’s instructions for any necessary preparation or adjustments.
4. Install the New Flapper
Attach the new flapper to the flush valve, aligning it correctly. Reconnect the flapper chain to the flush lever, leaving a slight slack for smooth operation.
Frequently Asked Questions (FAQ)
1. How do I know if my toilet flapper needs replacement?
Signs of a faulty flapper include a running toilet, water constantly trickling into the bowl, or difficulty achieving a proper flush. If you notice any of these issues, it’s likely time to replace the flapper.
2. Can I replace a toilet flapper myself, or do I need a professional plumber?
Replacing a toilet flapper is a relatively simple task that can be done by most homeowners. However, if you’re uncomfortable working with plumbing fixtures or if the problem persists after replacement, it’s best to seek the assistance of a professional plumber.
3. What should I do if the new flapper doesn’t solve the problem?
If replacing the flapper doesn’t resolve the issue, there may be underlying problems with other components, such as the fill valve or flush valve. It’s recommended to consult a plumber to diagnose and fix the problem accurately.
Remember, regular maintenance and prompt repairs will help keep your toilet functioning properly and prevent water wastage.
Similar posts:
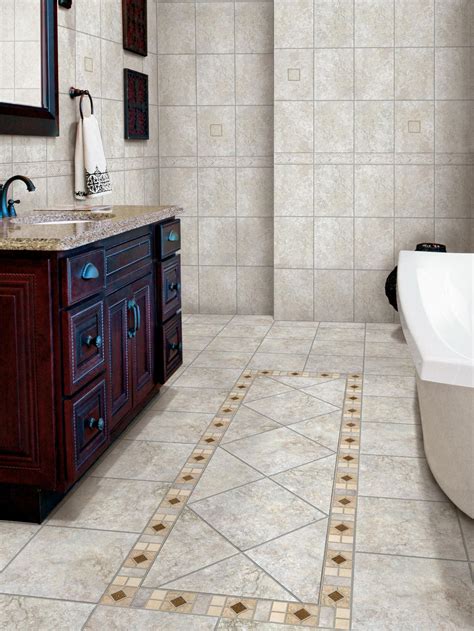 How to Tile a Bathroom Floor – A Step-by-Step Guide
 How to Install a Kitchen Sink Drain: A Step-by-Step Guide
 Snapdragons: The Ultimate Plant Care and Growing Guide for Stunning Blooms
 Steps for Taking Off a Tile Backsplash
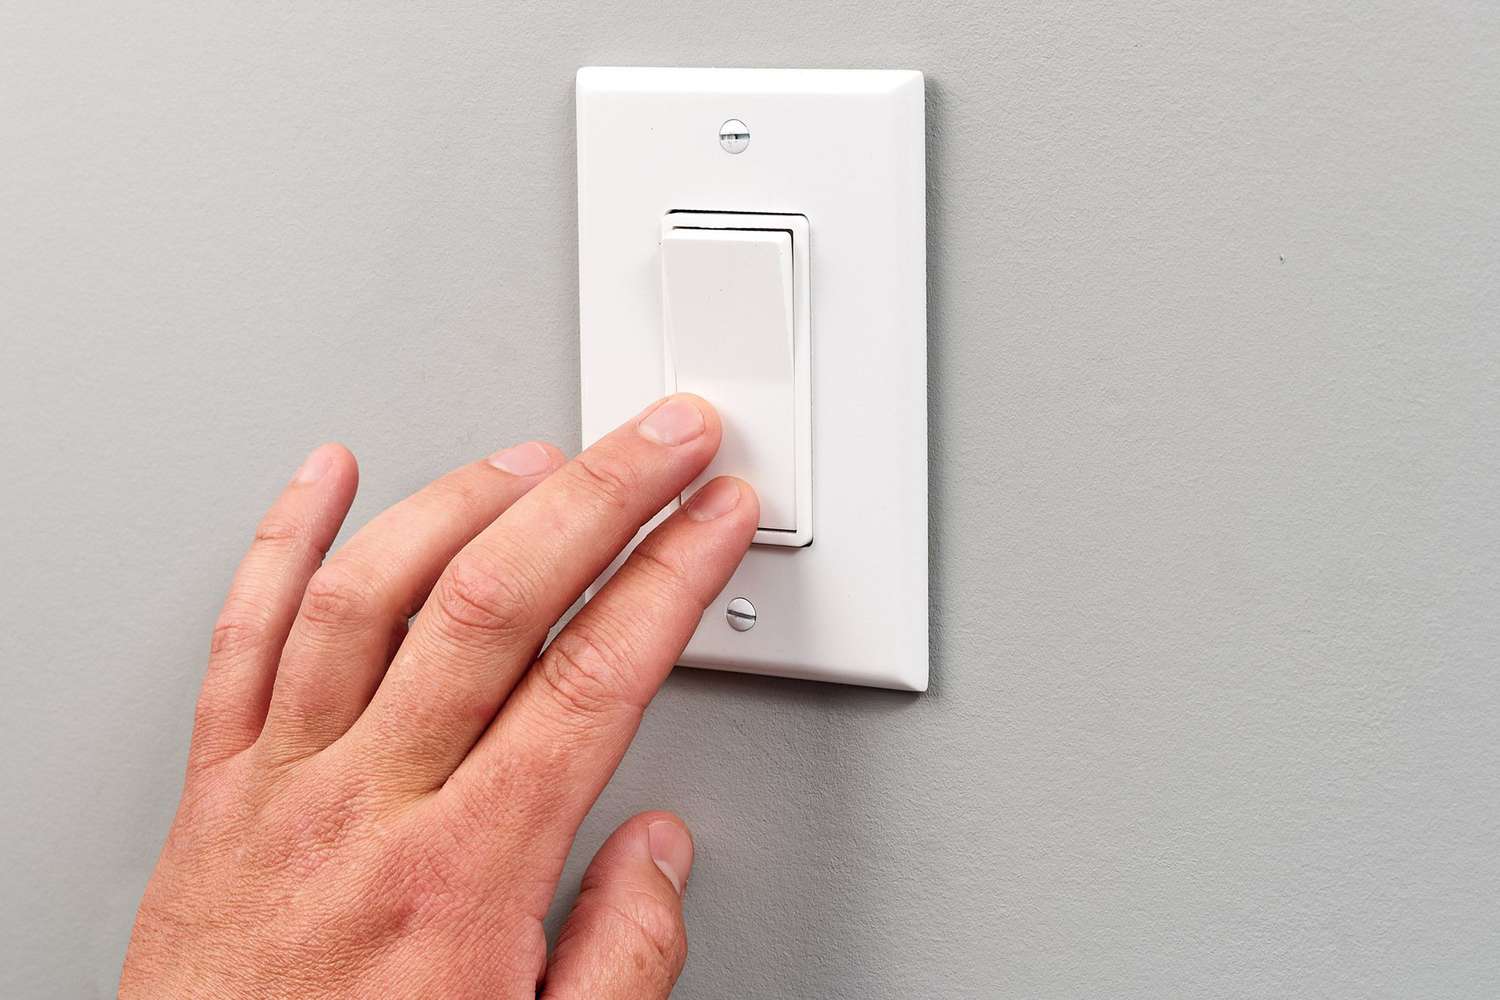 Steps to Repair a Non-Functional Light Switch
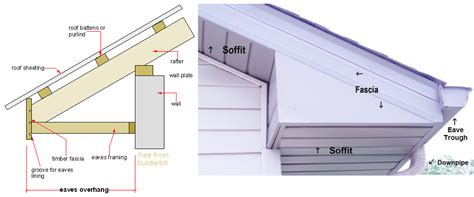 What You Need to Know About Your Eaves: A Complete Guide