
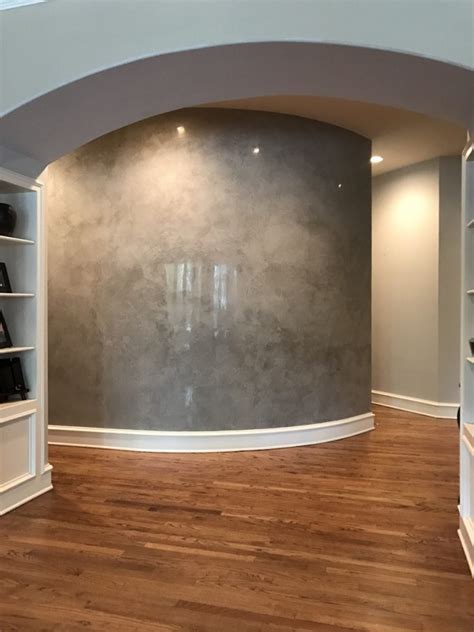
Venetian plaster is a luxurious and timeless wall finish that adds depth and texture to any space. If you’re looking to enhance the beauty of your walls, learning how to apply Venetian plaster can be a rewarding DIY project. In this comprehensive guide, we’ll take you through the step-by-step process of achieving a stunning Venetian plaster finish. So let’s dive in and unleash your inner artist!
Practice Your Skills
Before starting your Venetian plaster project, it’s essential to practice your technique on a small sample board or a spare piece of drywall. This allows you to get a feel for the plaster and experiment with different application methods, such as trowel pressure and texture creation. Take your time to familiarize yourself with the material and perfect your skills before tackling the actual wall.
Prepare the Room
Preparing the room is an important step to ensure a smooth and successful application of Venetian plaster. Here’s what you need to do:
- Protect the floor, furniture, and any other items in the room by covering them with drop cloths or plastic sheets.
- Remove any outlet covers, switch plates, or other fixtures from the walls.
- Clean the walls thoroughly, removing any dirt, dust, or loose paint. Repair any cracks or imperfections and let the surface dry completely.
- Apply a primer or base coat to create an even surface for the Venetian plaster to adhere to. Let the primer dry according to the manufacturer’s instructions.
Apply the First Coat
The first coat of Venetian plaster is the base layer that provides the foundation for the final finish. Here’s how to apply it:
- Prepare the Venetian plaster mixture according to the manufacturer’s instructions. It typically involves mixing the plaster with water to achieve the desired consistency.
- Using a steel trowel, apply a thin and even coat of plaster to the wall, working in small sections at a time.
- Hold the trowel at a 30 to 45-degree angle and apply moderate pressure to spread the plaster in smooth, overlapping strokes.
- Allow the first coat to dry completely before moving on to the next step. The drying time may vary depending on the product and environmental conditions.
Apply the Second Coat
The second coat of Venetian plaster adds depth and texture to the finish. Follow these steps to achieve a beautiful result:
- Prepare a new batch of Venetian plaster, ensuring it has the same consistency as the first coat.
- Apply the second coat in the same manner as the first, but this time, vary your trowel strokes and direction to create texture and movement.
- Focus on achieving a smooth and even surface, while still allowing the texture of the first coat to show through.
- Let the second coat dry completely before proceeding to the next step.
Burnish the Finish
Burnishing is an optional step that enhances the shine and smoothness of the Venetian plaster finish. Here’s how to do it:
- Use a fine-grit sandpaper or a Venetian
plaster burnishing trowel to gently polish the dried plaster surface.
- Apply light pressure and make circular or figure-eight motions to achieve a polished and satin-like finish.
- Wipe away any dust or debris with a clean, damp cloth.
Apply a Top Coat (Optional)
If you desire additional protection or a different sheen for your Venetian plaster, you can apply a top coat. There are various options available, including wax, sealers, or clear glazes. Follow the manufacturer’s instructions to apply the top coat evenly and let it dry completely.
FAQs (Frequently Asked Questions)
1. Can I apply Venetian plaster on any type of wall?
Venetian plaster can be applied on various wall surfaces, including drywall, plaster, concrete, and even wood. However, it’s important to ensure that the wall is properly prepared and primed before applying the plaster to achieve optimal adhesion and durability.
2. How long does it take for Venetian plaster to dry?
The drying time of Venetian plaster can vary depending on factors such as temperature, humidity, and the thickness of the applied coats. Generally, each coat can take anywhere from 24 to 48 hours to dry completely. It’s essential to allow sufficient drying time between coats to avoid compromising the integrity of the finish.
3. Can I apply Venetian plaster over existing paint?
Yes, it is possible to apply Venetian plaster over existing paint. However, it’s crucial to ensure that the paint is in good condition, free of peeling or flaking. If the existing paint is glossy or has a smooth finish, it’s recommended to lightly sand or prime the surface before applying the plaster to promote better adhesion.
Conclusion
Applying a Venetian plaster wall finish can transform your space and create a stunning, textured look. By following the step-by-step guide outlined in this article, you can achieve professional-looking results and enjoy the beauty of Venetian plaster in your home. Remember to practice your technique, prepare the room properly, and take your time during each application step. With patience and attention to detail, you’ll be able to create a unique and visually appealing finish that will impress everyone who enters your space.
Similar posts:
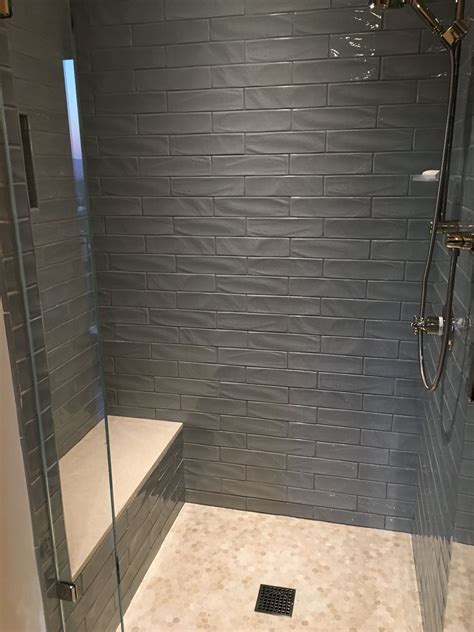 How to Tile a Shower: A Step-by-Step Guide for a Beautiful Bathroom
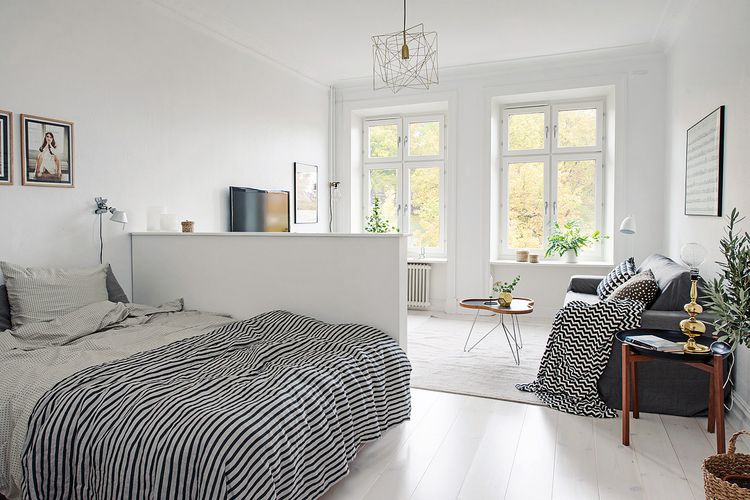 Steps to Construct a Temporary Partition Wall
 Can hot water eliminate bacteria?
:max_bytes(150000):strip_icc()/what-is-the-difference-between-a-pergola-and-an-arbor-2736630-hero-68bb466d08ab490a81ad36b2b44cccdf.jpg) Understanding the Differences Between Arbors and Pergolas: Their Functions, Suitable Plants, and Historical Background
Understanding the Differences Between Arbors and Pergolas: Their Functions, Suitable Plants, and Historical Background
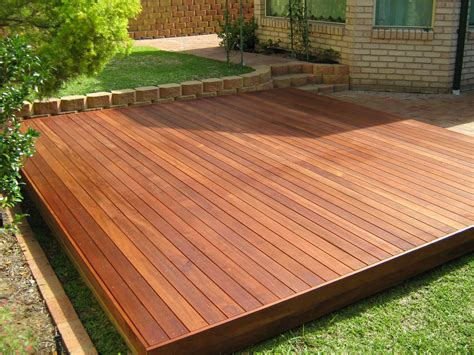 How to Build a Floating Deck: A Step-by-Step Guide
 How to Create Your Own Linen Spray