
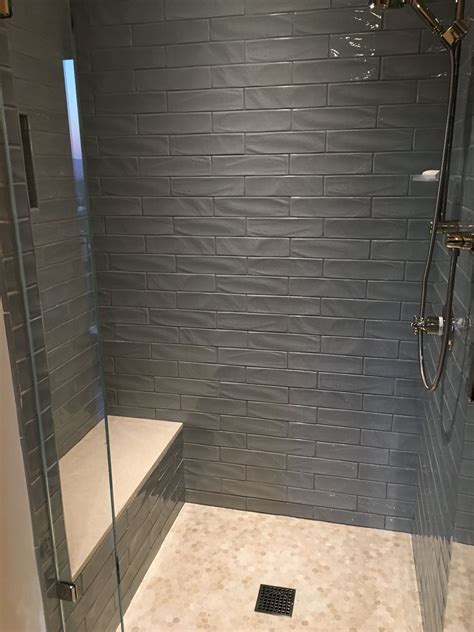
When it comes to transforming your bathroom into a stunning and functional space, tiling the shower can make a significant impact. Whether you’re a seasoned DIY enthusiast or a first-time tiler, this step-by-step guide will walk you through the process of tiling a shower. From the planning stage to the finishing touches, we’ve got you covered.
When to Tile a Shower
Tiling a shower is an excellent choice if you’re looking to upgrade the aesthetics and functionality of your bathroom. Consider tiling a shower in the following situations:
- During a bathroom renovation or remodel
- When the current shower needs repair or replacement
- If you prefer a durable and low-maintenance surface for your shower walls and floor
Before You Begin
Before you dive into tiling, there are a few important factors to consider:
Timing
Plan your tiling project when you have enough time to complete it without rushing. Adequate time allows for careful preparation and ensures a quality finish.
Bathing Facilities
If the shower you’re tiling is the only one in your home, you’ll need to make alternative bathing arrangements while the tiling process is underway. Consider using a neighbor’s shower, a gym, or a nearby facility.
Staging Area for Materials
Designate a space near the bathroom to store your tiling materials, tools, and equipment. Having everything organized and easily accessible will streamline the tiling process.
Tile Alternatives
While tiles are a popular choice for shower walls and floors, there are alternative materials available, such as solid surface panels or acrylic wall systems. Consider your preferences, budget, and the overall style you want to achieve in your bathroom.
Type of Tile To Use for Showers
Choosing the right type of tile is crucial for a successful shower tiling project. Here are the two main types of tiles to consider:
Shower Wall Tile
For shower walls, it’s essential to select tiles that are water-resistant and suitable for wet areas. Ceramic or porcelain tiles are common choices, as they are durable and easy to clean.
Shower Floor Tile
When it comes to the shower floor, look for tiles with slip-resistant properties. Natural stone or mosaic tiles are popular options due to their ability to provide traction and enhance safety.
Building or Adding a Shower Pan
If your shower doesn’t already have a waterproof base, you’ll need to build or install a shower pan. This ensures proper drainage and prevents water leaks. Consult a professional or refer to specialized resources for detailed instructions on constructing or adding a shower pan.
Cost to Tile a Shower
The cost of tiling a shower can vary depending on factors such as the size of the shower, the type of tiles chosen, and whether you hire professionals or complete the project yourself. It’s recommended to obtain quotes from reputable contractors or suppliers to get an accurate estimate for your specific requirements.
Safety Considerations
When tiling a shower, it’s essential to prioritize safety
. Here are a few safety tips to keep in mind:
- Wear protective gear, including goggles, gloves, and knee pads, to prevent injuries while working with tools and materials.
- Ensure proper ventilation in the bathroom by opening windows or using fans to minimize exposure to dust and fumes.
- Use caution when handling sharp tools and cutting tiles. Follow manufacturer instructions for tool usage and adhere to safety guidelines.
How to Tile a Shower
Now let’s dive into the step-by-step process of tiling a shower:
Plan Tile Layout
Start by planning the layout of the tiles. Measure the shower walls and floor to determine the number of tiles needed and the layout pattern you want to achieve.
Protect Floors
Cover the bathroom floor with protective materials, such as drop cloths or cardboard, to prevent damage from tile adhesive or grout.
Remove Shower Tile or Surround
If you’re replacing existing tiles or a shower surround, carefully remove them using appropriate tools. Ensure the surface is clean and free of any debris.
Fix Shower Wall Structure
Inspect the shower wall structure for any damage or issues. Repair or reinforce the structure as needed before proceeding with the tiling process.
Add Seats, Shelves, Niches, and Cubbies
If you plan to incorporate seats, shelves, niches, or cubbies into your shower design, this is the time to install them. Follow manufacturer instructions or consult a professional for proper installation techniques.
Measure and Mark Shower Area
Measure and mark the shower area on the walls and floor using a level, straightedge, and pencil. This will serve as a guide for tile placement.
Measure and Cut Backer Board
Using the measurements from the previous step, cut backer boards to fit the shower walls. Backer boards provide a stable and moisture-resistant surface for tile installation.
Install Backer Board
Attach the backer boards to the shower walls using appropriate screws or nails. Follow manufacturer instructions for proper installation techniques.
Add Cement Board Tape
Apply cement board tape over the seams between the backer boards. This reinforces the joints and prevents moisture from seeping through.
Apply Waterproofing Membrane
Apply a waterproofing membrane to the shower walls and floor. This creates a barrier that protects the underlying structure from moisture and prevents water damage.
Lay Tile on Floor
Start by laying tiles on the shower floor. Apply tile adhesive or thin-set mortar using a notched trowel, and press the tiles firmly into place.
Create a Story Pole
A story pole is a tool used to ensure consistent tile placement and alignment. It helps maintain a level row of tiles as you work your way up the walls. Prepare a story pole by marking the desired tile height on a long, straight board.
Set Second Tile Row Start Point
Using the story pole as a guide, mark the starting point for the second row of tiles on the walls. This ensures that the tiles are aligned and level.
Spread Thinset
Using a notched trowel, spread thinset mortar on the back
of each tile before placing it on the wall. Ensure proper coverage to ensure adhesion.
Apply Tiles
Place the tiles on the walls, following the marked guidelines and using spacers to create even gaps between them. Press them firmly into the thinset.
Finish First Row
Once the first row is complete, continue tiling the remaining rows, making sure to maintain a level line and consistent spacing between tiles.
Add Edge Tile
For a finished look, add edge tiles along the sides and top of the shower walls. These tiles may need to be cut to fit the space properly.
Tile Around the Drain
Carefully cut and fit tiles around the shower drain, ensuring a clean and snug fit. Use a tile saw or appropriate cutting tool for precise cuts.
Grout Tile
Once the tiles are in place and the adhesive has dried, it’s time to apply grout. Mix the grout according to the manufacturer’s instructions and use a grout float to fill the gaps between tiles.
Clean Grout Haze
After the grout has set for a short while, use a damp sponge to clean the tiles and remove any grout haze. Rinse the sponge frequently for best results.
When to Call a Professional
While tiling a shower can be a rewarding DIY project, some situations may require the expertise of a professional:
- If you’re inexperienced or uncomfortable with tile installation
- In the presence of complex plumbing or structural issues
- When dealing with specialty tile materials or intricate designs
FAQs about Tiling a Shower
1. Can I tile over existing tiles in the shower?
In some cases, it’s possible to tile over existing tiles. However, it’s essential to assess the condition of the existing tiles and ensure a suitable surface for the new tiles. Consult a professional for guidance.
2. How long does it take to tile a shower?
The time it takes to tile a shower can vary depending on factors such as the size of the shower, the complexity of the design, and your level of experience. It’s best to allocate sufficient time and plan accordingly.
3. How do I maintain and clean tiled showers?
To maintain and clean your tiled shower, regularly wipe down the tiles with a mild detergent and water solution. Avoid using abrasive cleaners or tools that could damage the tiles. Sealing the grout periodically can also help prevent stains and moisture penetration.
Now that you have a comprehensive understanding of how to tile a shower, you’re ready to embark on your bathroom transformation. With careful planning and attention to detail, you’ll create a beautiful and functional shower that enhances your daily bathing experience.
Similar posts:
 Methods for Checking Hard Water Levels
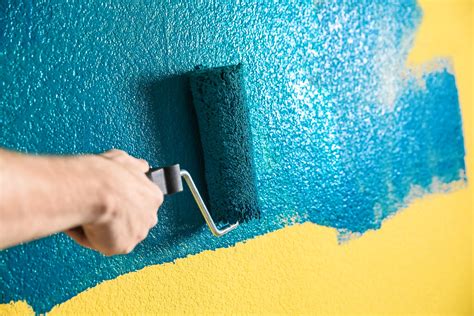 Transform Your Walls: How to Texture a Wall With a Roller
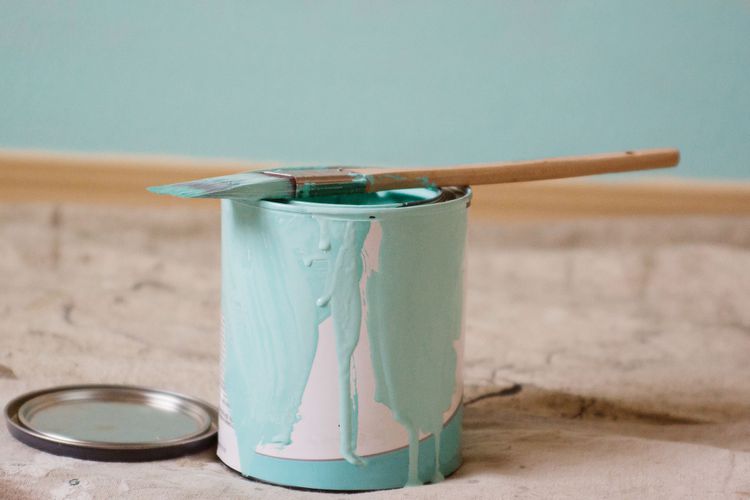 Eggshell vs. Semi-Gloss: Which Type of Paint Is Best Suited for Your Project?
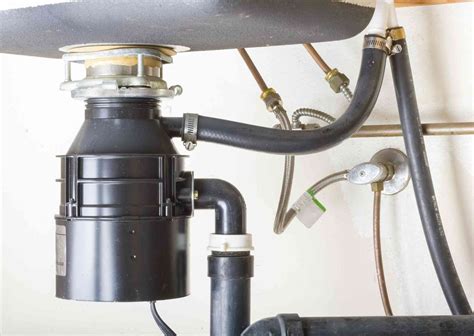 Quick and Easy Guide: How to Reset a Garbage Disposal for Smooth Functionality
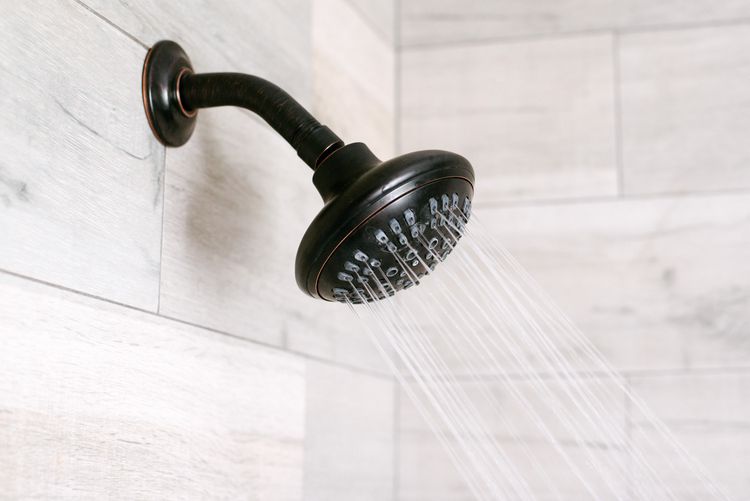
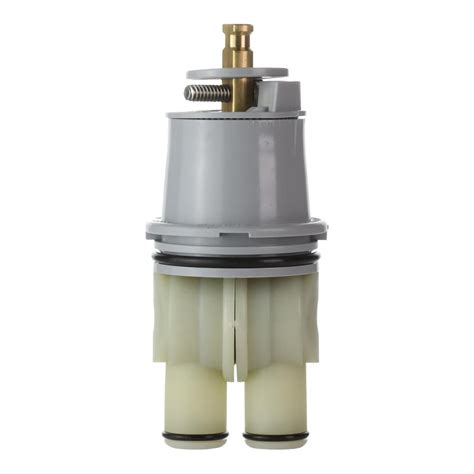 How to Replace a Shower Valve Cartridge: A Step-by-Step Guide
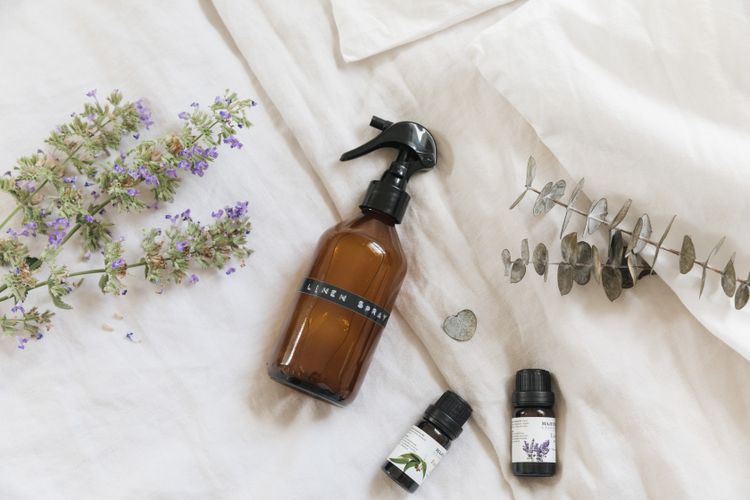 How to Create Your Own Linen Spray