
Before You Begin
1. Lay a Drop Cloth in the Bottom of the Shower
To protect the shower floor from any dropped tools or small parts, place a drop cloth or towel at the bottom of the shower before starting the replacement process. This will prevent any damage and make cleanup easier.
2. Remove the Shower Handle
Using a screwdriver or Allen wrench, remove the screw or set screw securing the shower handle. Once removed, carefully pull off the handle to expose the trim plate beneath.
Unscrew and Clean the Trim Plate
1. Turn Off the Water
Locate the main water shut-off valve for your home and turn it off to stop the water supply to the shower. This step is crucial to avoid any water leaks during the replacement process.
2. Inspect and Prepare the Area
Carefully examine the area around the trim plate to ensure there is no mold, mildew, or debris. Clean the area using a mild cleaner or vinegar solution and a soft cloth. This will create a clean and sanitary workspace.
3. Remove the Retainer Clip
Using pliers or a small screwdriver, carefully remove the retainer clip that secures the shower valve cartridge. Gently pull it out, taking care not to damage the clip or surrounding components.
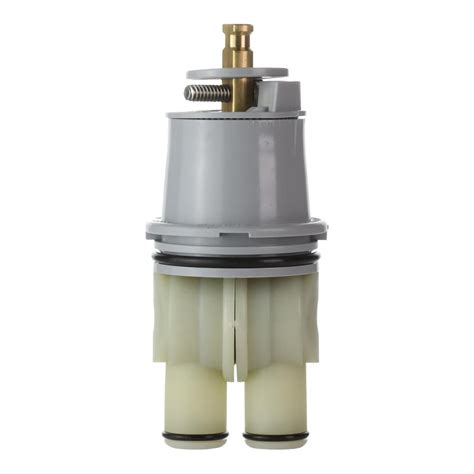
Pull Out the Shower Valve Cartridge
1. Install the New Shower Valve Cartridge
Insert the new shower valve cartridge into the valve housing, ensuring that it is properly aligned and seated. Push it in firmly until it is fully inserted.
2. Turn on the Water and Test for Leaks
Slowly turn on the main water supply valve to restore water flow to the shower. Monitor the area around the new cartridge for any signs of leaks. If you notice any leaks, tighten the cartridge or consult a professional plumber for assistance.
3. Reattach the Trim Plate and Shower Handle
Carefully reattach the trim plate, making sure it is aligned correctly. Secure it in place using the screws or fasteners provided. Then, slide the shower handle back onto the valve stem and tighten the screw or set screw to hold it firmly in place.
FAQ
1. How often should I replace the shower valve cartridge?
The lifespan of a shower valve cartridge can vary depending on usage and water quality. However, on average, it is recommended to replace the cartridge every 5 to 10 years to ensure optimal functionality and prevent potential leaks.
2. Can I replace a shower valve cartridge without professional help?
Yes, replacing a shower valve cartridge is a task that can often be done as a DIY project. However, it requires basic plumbing knowledge and skills. If you are uncomfortable or unsure about the process, it is best to consult a professional plumber to avoid any potential issues or damage.
3. What should I do if I encounter difficulty removing the old cartridge?
If the old shower valve cartridge is stuck or difficult to remove, try using a cartridge removal tool or lubricating it with a penetrating oil. Allow the oil to sit for a few minutes before attempting to remove the cartridge again. If the issue persists, consider contacting a professional plumber for assistance.
Similar posts:
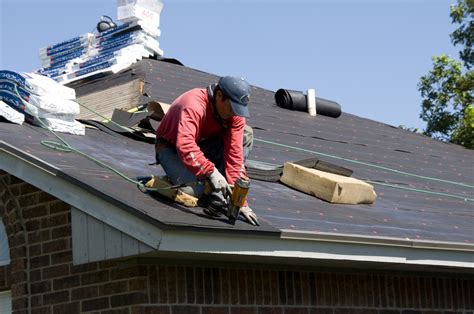 The Basics of Roof Replacement: Cost, Materials, and Process
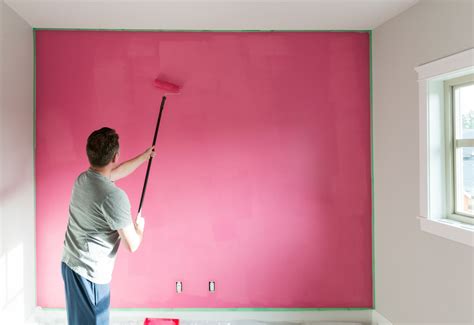 How to Paint a Wall Like a Pro: A Step-by-Step Guide
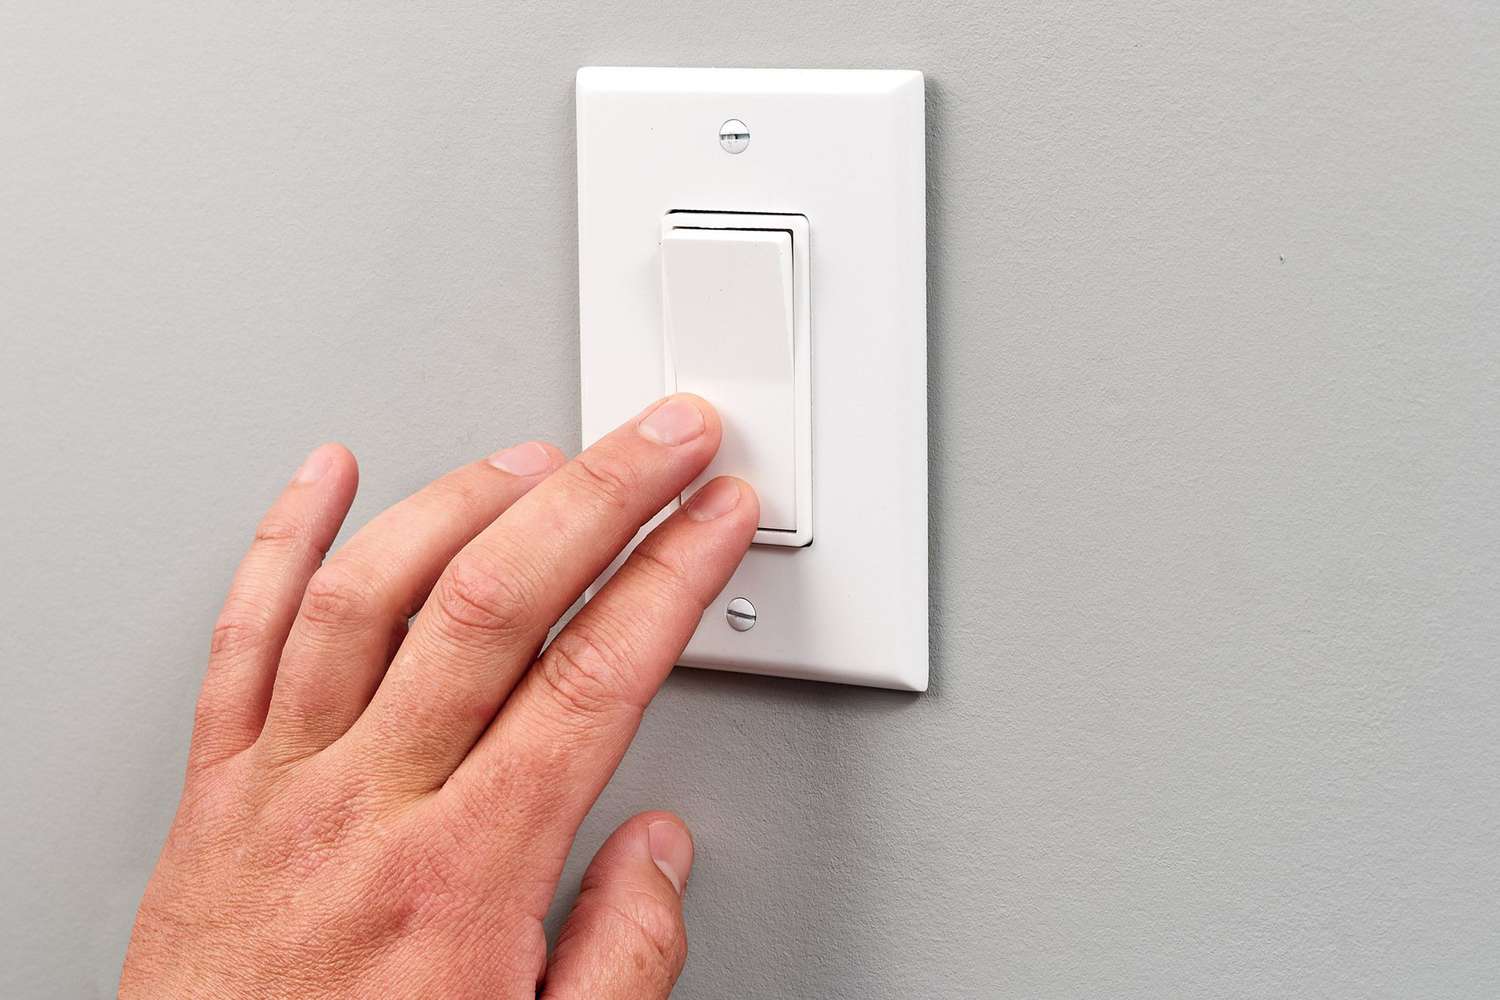 Steps to Repair a Non-Functional Light Switch
 Steps for Taking Off a Tile Backsplash
 The Top Swivel Chairs Available Online for Your Consideration
 Paint Primer: A Comprehensive Guide to Basic Uses