
Accidents happen, and sometimes your carpet ends up with a noticeable tear or stain. But don’t worry! With carpet patching, you can repair the damaged area and restore your carpet’s appearance. In this article, we’ll guide you through the process of repairing a carpet using donor patches, ensuring a seamless and professional-looking fix.
Repairing a Carpet With Donor Patches
Carpet patching involves replacing the damaged section of your carpet with a donor patch. The donor patch is a piece of carpet taken from an inconspicuous area, such as a closet or under furniture. Here are the steps to repair your carpet:
1. Assess the Damaged Carpet
Examine the damaged area to determine its size and shape. This will help you find a suitable donor patch to match.
2. Find the Donor Carpet
Locate a donor carpet that closely matches the color, texture, and pile of your existing carpet. You can either use new donor patches or, if available, existing donor patches from your carpet installation.
3. Mark the Damaged Section
Use a marker or chalk to outline the damaged section of the carpet. This will serve as a guide when cutting out the damaged portion.
4. Cut Out the Damaged Section
Using a utility knife, carefully cut along the marked lines to remove the damaged section of the carpet. Be sure to make clean and straight cuts.
5. Obtain the Donor Carpet
If using new donor patches, purchase them from a carpet store or online retailer. If using existing donor patches, carefully cut out a section of carpet from the inconspicuous area.
6. Decide on Nap Direction and Test Donor Piece
Before attaching the donor patch, ensure that the direction of the carpet fibers, known as the nap, matches the surrounding carpet. Test the donor piece by placing it over the cut-out section to check for a seamless blend.
7. Apply the Carpet Tape
Apply carpet tape to the edges of the cut-out section. This will help secure the donor patch in place.
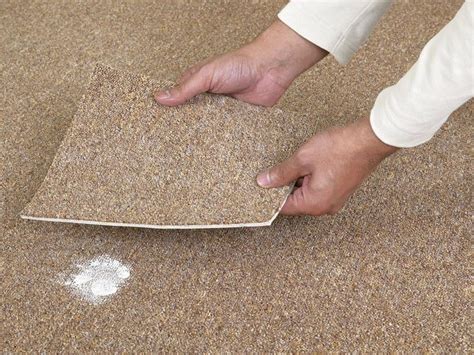
8. Place Patch Down
Carefully place the donor patch over the cut-out section, aligning the nap direction with the surrounding carpet. Press it firmly onto the carpet tape to ensure a secure bond.
9. Blend the Patch With the Rest of the Carpet
Using a carpet brush or your fingers, gently blend the edges of the donor patch with the surrounding carpet fibers. This will help create a seamless transition and hide any visible seams.
10. Patch the Donor Area (Optional)
If you used existing donor patches, you may need to patch the area where the donor carpet was removed. Use carpet adhesive or double-sided carpet tape to secure the patch in place.
FAQs
1. Can I repair a large damaged area with carpet patching?
Carpet patching is most effective for repairing small to medium-sized damaged areas. If the damage covers a large portion of the carpet, it may be more practical and cost-effective to replace the entire carpet.
2. Will the donor patch be noticeable after the repair?
With proper selection and blending techniques, the donor patch can be seamlessly integrated into the existing carpet, making it virtually invisible. Take time to find a donor carpet that closely matches your carpet’s color, texture, and pile for the best results.
3. Should I attempt carpet patching myself or hire a professional?
Carpet patching can be a DIY project if you feel comfortable with the steps involved. However, if you’re unsure or dealing with a complex repair, it’s advisable to seek professional help. Professionals have the expertise and tools to ensure a high-quality and long-lasting repair.
Conclusion
By following these steps and using donor patches, you can easily repair a damaged carpet and restore its original beauty. Whether it’s a small tear or a stubborn stain, carpet patching offers an affordable and effective solution. Remember to take your time, choose the right donor carpet, and blend the patch seamlessly with the surrounding area. If you have any doubts or a larger-scale repair, don’t hesitate to consult a professional for assistance. Enjoy your newly repaired carpet!
Similar posts:
 Basics of Floor Sealant: Enhancing and Protecting Your Floors
 Summer Rose Care: Tips for Pruning, Trimming, and Watering
 Ways to Eliminate Cigarette Odors from Clothing and Carpets
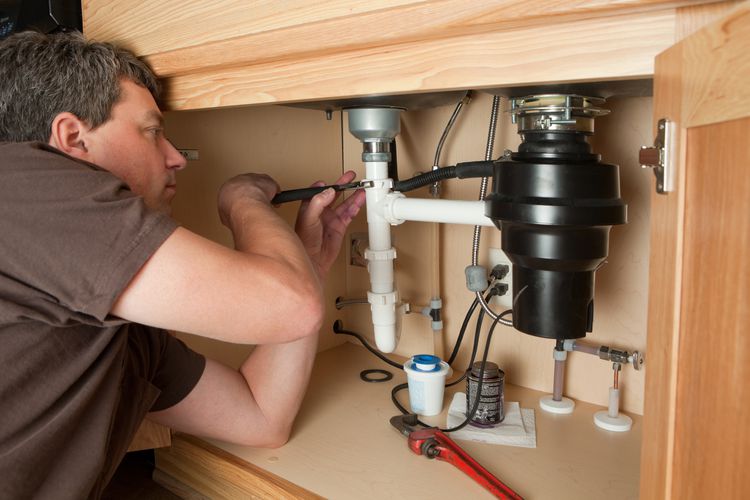 What is the expense involved in replacing a garbage disposal unit?
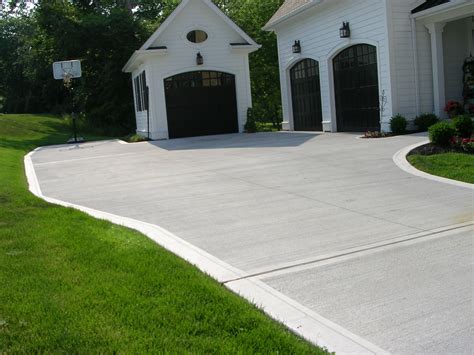 The Pros and Cons of a Concrete Driveway: Exploring the Benefits and Drawbacks
 Ways to Eliminate Grape Juice Stains from Fabrics, Carpets, and Upholstered Surfaces