

Before You Begin
Before diving into the installation process of a kitchen sink drain, it’s important to gather the necessary tools and materials. You’ll need a wrench, plumber’s putty, a screwdriver, a hacksaw (if adjustments are required), and the new drain assembly kit. Once you have everything ready, you can proceed with the following steps.
Check the Drain Outlet Height
The first step in installing a kitchen sink drain is to check the height of the drain outlet. This will determine if any adjustments are needed. Measure the distance from the bottom of the sink to the drain outlet using a tape measure. The standard height for most drain outlets is around 16 to 20 inches from the floor. If your measurement differs significantly, you may need to make adjustments to ensure proper drainage.
Lower the Drain Outlet, If Necessary
If the drain outlet height is too high, you’ll need to lower it for the new drain assembly to fit properly. To do this, you’ll need to remove the existing drain pipe and make adjustments using a hacksaw. Carefully cut the pipe to the desired height, ensuring a clean and even cut. Be cautious not to damage any surrounding pipes or plumbing components during this process.
Install the Garbage Disposal and Strainer
If you have a garbage disposal unit, it’s important to install it before proceeding with the drain installation. Follow the manufacturer’s instructions to mount the disposal unit securely under the sink. Next, install the strainer basket onto the sink drain opening by placing plumber’s putty around the base and pressing it firmly into position. Tighten the retaining nut from below the sink to secure the strainer in place.
Install the Drain Tailpiece and Continuous Waste Pipe
Now it’s time to install the drain tailpiece and the continuous waste pipe. Attach the drain tailpiece to the strainer basket, ensuring a tight and secure connection. Use a wrench to tighten the nut if necessary. Connect the continuous waste pipe to the drain tailpiece, aligning the pieces and securing them with slip nuts. Make sure the connections are snug but not overly tightened to avoid any leaks.
Connect the Drain Trap
The next step is to connect the drain trap to the continuous waste pipe. Insert the trap arm into the wall or floor drain opening, and attach it to the continuous waste pipe using slip nuts. Ensure that the trap arm is properly aligned and sloping downward to allow for proper drainage. Tighten the slip nuts to create a secure connection, but be careful not to overtighten as it may cause damage.
Check for Leaks
After completing the installation, it’s essential to check for any leaks. Slowly run water into the sink and observe all the connections for signs of leakage. If you notice any leaks, tighten the slip nuts slightly until the leaks stop. Be sure to wipe away any excess water and dry the area thoroughly to ensure accurate leak detection.
Frequently Asked Questions (FAQs)
Q: Can I install a kitchen sink drain without a garbage disposal?
A: Yes, you can install a kitchen sink drain without a garbage disposal. The process is similar, but you will skip the step of installing the disposal unit. Instead, you’ll focus on installing the strainer and connecting the drain tailpiece and continuous waste pipe.
Q: How do I remove an old kitchen sink drain?
A: To remove an old kitchen sink drain, start by disconnecting
the drain pipe from the drain tailpiece using a wrench. Then, loosen the retaining nut on the strainer basket from below the sink. Once the nut is loose, you should be able to lift the old drain assembly out of the sink.
Q: Do I need to use plumber’s putty when installing a kitchen sink drain?
A: Yes, plumber’s putty is commonly used during the installation of a kitchen sink drain. It creates a watertight seal between the sink and the strainer basket, preventing water from leaking out. Apply a thin layer of plumber’s putty around the base of the strainer before installing it.
Conclusion
By following these step-by-step instructions, you can successfully install a kitchen sink drain. Remember to check the drain outlet height, make any necessary adjustments, install the garbage disposal and strainer, connect the drain tailpiece and continuous waste pipe, and ensure a secure connection with the drain trap. Take your time during the installation process and double-check for any leaks before considering the job complete. With proper installation, you can enjoy a fully functional kitchen sink drain that ensures efficient drainage and minimizes the risk of leaks or water damage.
Similar posts:
 What is the expense involved in replacing a bathtub?
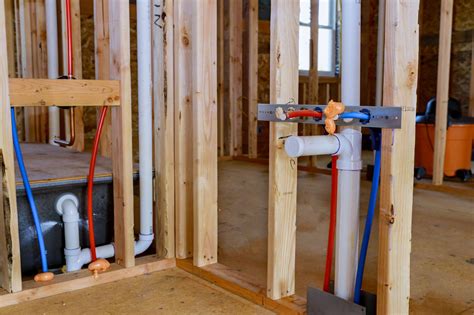 What Is Rough-in Plumbing? A Guide to the Basics
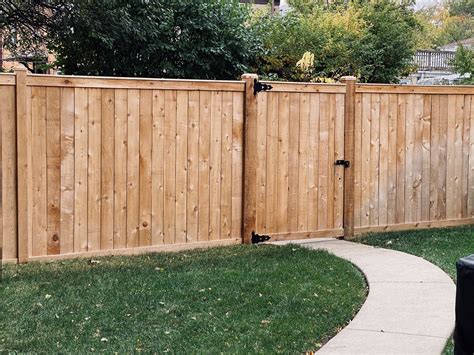 A Step-by-Step Guide to Installing a Wood Fence: DIY Tips and Techniques
 How to Paint Wood Paneling the Right Way: Step-by-Step Guide
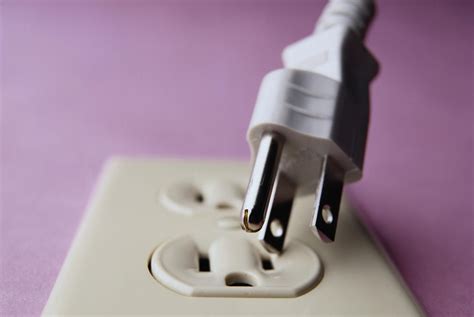 Guide to Electrical Connections in and Around the Home
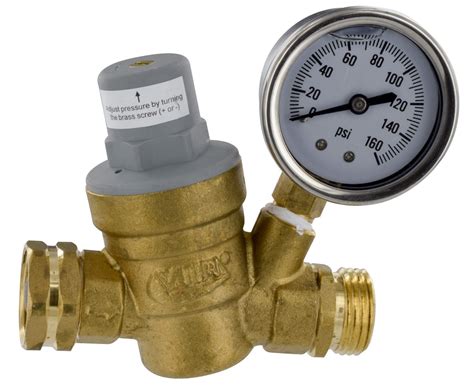 Water Pressure Regulators: What They Are and How They Work