
If you’re planning a construction or remodeling project, you may come across the term “rough-in plumbing.” But what exactly does it mean? In this article, we’ll explore the concept of rough-in plumbing, its differences from finish plumbing, and how to do rough-in plumbing yourself.
What Rough-in Plumbing Is
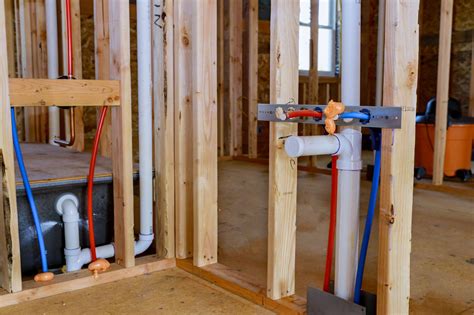
Rough-in plumbing refers to the initial installation of the plumbing system in a building before the walls and floors are finished. It involves laying out and installing the main water supply lines, drain lines, and vent pipes that will connect to various fixtures such as sinks, toilets, and showers. Essentially, rough-in plumbing sets the foundation for the entire plumbing system.
Rough-in vs. Finish Plumbing
It’s important to distinguish between rough-in plumbing and finish plumbing. Rough-in plumbing is the installation of the basic infrastructure, while finish plumbing involves the installation of the fixtures and connections once the walls and floors are complete. Finish plumbing includes tasks such as installing faucets, toilets, sinks, and showerheads, as well as connecting them to the previously installed rough-in plumbing.
How to Do Rough-in Plumbing
If you have the necessary skills and knowledge, you can tackle rough-in plumbing as a DIY project. Here are the general steps involved:
1. Excavate and Lay Main Water and Drain Lines
Begin by excavating the areas where the main water supply and drain lines will be installed. Lay the water supply lines, typically using copper or PEX pipes, and the drain lines, usually made of PVC or ABS pipes. Ensure proper slope for drainage and connect the pipes using appropriate fittings.
2. Measure and Drill Tub and Toilet Drains
For tub and toilet installations, measure and mark the locations for the drains. Use a hole saw or reciprocating saw to drill holes in the subfloor or concrete slab to accommodate the drains.
3. Drill Holes for Drainage and Venting
Next, drill holes in the framing members to allow for drainage pipes and venting. These holes will provide pathways for waste water to flow out of the building and for air to enter the system to prevent vacuum and odors.
4. Drill Holes and Run Water Lines
Drill holes through the framing to run the water supply lines. Use appropriate fasteners or straps to secure the pipes and prevent them from moving or rattling.
5. Externally Vent Plumbing Equipment
Install vent pipes to allow the release of sewer gases and prevent air pressure issues. Vent pipes should extend vertically and terminate above the roofline.
6. Complete Water, Drain, and Vent Tie-Ins
Connect the water supply lines, drain lines, and vent pipes to their respective fixtures and ensure proper alignment and sealing. Use appropriate fittings and follow local plumbing codes.
7. Connect and Test the Water Line
Finally, connect the main water line to the building’s water supply and test the system for leaks. Turn on the water supply and check for any signs of leakage or abnormal pressure.
FAQs (Frequently Asked Questions)
1. Can I do rough-in plumbing myself?
While it is possible to do rough-in plumbing as a DIY project, it requires a good understanding of
plumbing principles and local building codes. It is recommended to consult with a professional plumber or contractor to ensure the job is done correctly.
2. What type of pipes are commonly used for rough-in plumbing?
Commonly used pipes for rough-in plumbing include copper pipes, PEX (cross-linked polyethylene) pipes, PVC (polyvinyl chloride) pipes, and ABS (acrylonitrile butadiene styrene) pipes. The choice of pipes depends on the specific plumbing needs and local building codes.
3. Why is rough-in plumbing important?
Rough-in plumbing is crucial as it lays the foundation for the entire plumbing system. Proper installation ensures the efficient flow of water, prevents leaks, and allows for future connections to fixtures during the finish plumbing phase.
Conclusion
Rough-in plumbing is an essential part of any construction or remodeling project that involves installing a plumbing system. By understanding the basics of rough-in plumbing and following the proper steps, you can ensure a solid and functional plumbing infrastructure. If you’re unsure about your plumbing skills, it’s always wise to consult with a professional plumber to avoid potential issues down the line.
Similar posts:
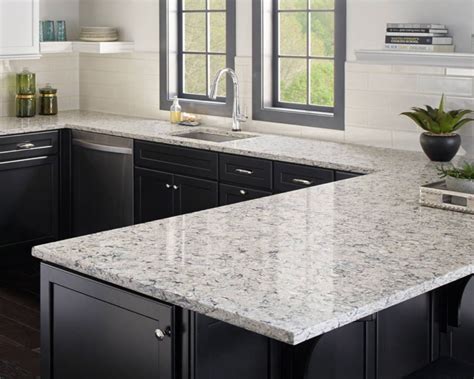 Everything You Need to Know About Quartz Countertops: The Durable and Eco-Friendly Choice
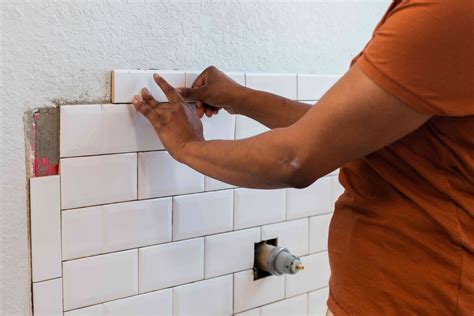 How to Install Wall Tile: A Step-by-Step Guid
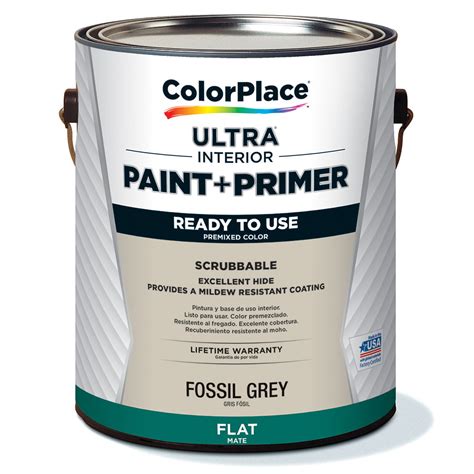 Paint Primer: A Comprehensive Guide to Basic Uses
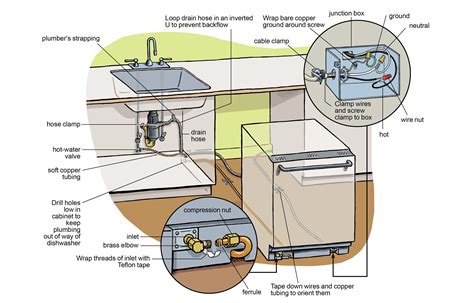 How to Install and Connect a New Dishwasher: A Step-by-Step Guide
 How to Paint Wood Paneling the Right Way: Step-by-Step Guide
 Amperage vs. Voltage: The Dangers of Electrical Shock