
Before You Begin
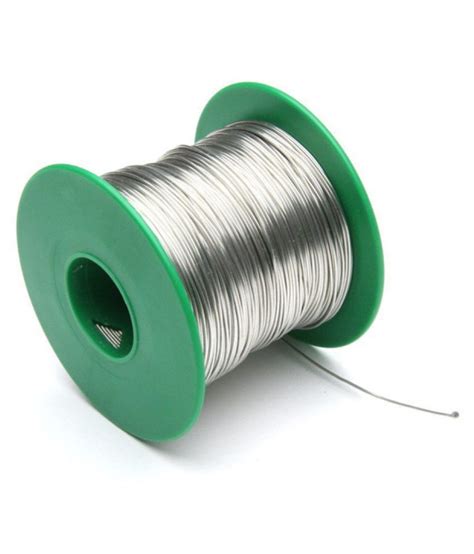
Before diving into the process of soldering wires, it’s important to gather the necessary tools and materials. You’ll need a soldering iron, solder wire, wire strippers, heat shrink tubing, rosin flux, and safety equipment like safety goggles and heat-resistant gloves. Ensure you have a well-ventilated workspace and follow proper safety precautions.
How to Solder Wires
Soldering wires is a reliable and secure method for joining them together. Here’s a step-by-step guide on how to solder wires effectively:
Step 1: Strip the Wires
Using wire strippers, carefully remove about 1/2 inch of insulation from the ends of the wires you wish to solder. Ensure that the bare copper wire is exposed and free from any frayed strands.
Step 2: Add the Heat Shrink Tubing
Slide a suitable-sized heat shrink tubing over one of the wires before joining them. This will ensure proper insulation and protect the soldered connection.
Step 3: Join the Wires
Overlap the stripped ends of the wires, ensuring a tight and secure connection. The wires should be aligned evenly for a proper solder joint.
Step 4: Position the Wires
Hold the joined wires in place using a helping hand tool or a small clamp. This will keep the wires steady and make the soldering process easier.
Step 5: Add the Rosin Flux
Apply a small amount of rosin flux to the exposed wires. Rosin flux helps clean the surface and promotes better solder flow, ensuring a strong and reliable connection.
Step 6: Prepare for Soldering
Heat up your soldering iron and ensure the tip is clean and tinned. Tinning the tip involves applying a small amount of solder to the iron’s tip to improve heat transfer and solder flow.
Step 7: Solder the Wires
With the soldering iron heated, touch the tip to the joint between the wires. Allow the joint to heat up for a few seconds before applying solder. Gently touch the solder wire to the joint, allowing it to melt and flow evenly around the connection. Ensure the solder covers the entire joint for a secure bond.
Step 8: Shrink the Tubing
Once the solder has cooled, slide the heat shrink tubing over the soldered joint. Use a heat gun or a lighter to carefully heat the tubing, causing it to shrink and create a tight, insulated seal around the soldered area.
Soldering Wires to Other Electrical Components
Soldering wires to electrical components, such as switches or connectors, follows a similar process. Ensure you strip and prepare the wires correctly, apply rosin flux to the connection points, and use the soldering iron to create a strong solder joint. Pay attention to any specific instructions or guidelines provided by the manufacturer of the electrical component.
FAQs
1. Can I solder wires without using rosin flux?
While rosin flux is not mandatory, it is highly recommended for achieving a reliable and long-lasting solder connection. Rosin flux helps remove oxidation from the wire surfaces and enhances the solder’s ability to flow and bond to the wires.
2. Can I use a regular soldering iron for wire soldering?
Yes, a regular soldering iron is suitable for wire
soldering. Ensure the soldering iron is appropriately sized for the wires you are working with. A soldering iron with an adjustable temperature setting can be beneficial, as different wire gauges may require different heat levels for proper soldering.
3. How do I ensure a strong solder joint?
To ensure a strong solder joint, it’s essential to properly strip and clean the wires, apply rosin flux, and ensure the solder flows evenly around the joint. The joint should appear shiny and smooth after soldering. If needed, gently tug the wires to test the strength of the connection. A strong solder joint will withstand light pulling without coming apart.
Conclusion
Soldering wires is a valuable skill for various electrical and electronic projects. By following the step-by-step guide provided in this article and paying attention to safety precautions, you can confidently solder wires and create secure connections. Remember to practice and take your time to master the technique. Happy soldering!
Similar posts:
 Guide to Electrical Connections in and Around the Home
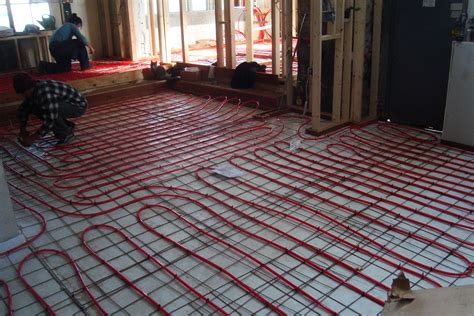 Electric Radiant Floor Heating: The Basics
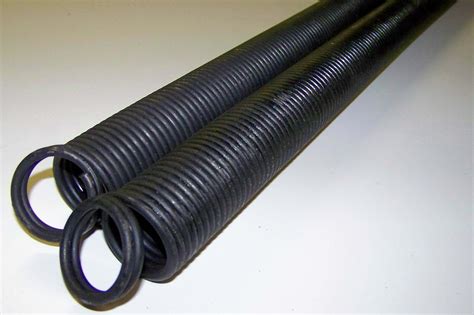 How to Replace Garage Door Springs: Torsion and Extension
 How a Furnace-Mounted Home Humidifier Works: A Comprehensive Guide
 Steps for Replacing a Thermocouple or Flame Sensor in a Water Heater
 Ways to Organize Your Closet by Color