
With more than twenty years of practical experience in renovating, repairing, and enhancing residences, Lee has been offering home improvement guidance for many years.
Project Summary
- Duration of Work: 30 to 45 minutes
- Overall Duration: 1 to 2 days
- Proficiency Level: Novice
- Projected Expense: Between $10 and $20
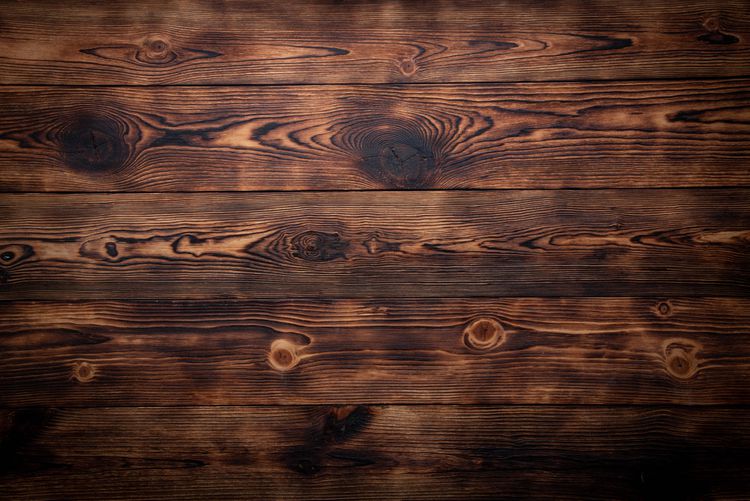
Wood can be preserved through various methods, including the use of natural oils, lacquers, and polyurethanes, or simply allowing it to mature naturally over time.
A distinctive method for preserving wood and enhancing its appearance is known as shou sugi ban. This traditional technique involves treating wood with fire.
What exactly is Shou Sugi Ban?
Shou sugi ban, also known as yakisugi, is a technique for treating and aging wood by exposing it to an open flame. This process burns the surface of the wood, creating a layer of blackened ash while preserving the underlying material. This traditional method, which has its roots in Japan, has been utilized for centuries both in Japan and internationally.
Wood treated with the Shou Sugi Ban technique is suitable for a variety of applications, including interior shiplap, ceiling beams, posts, exterior cladding, bars, kitchen cabinetry, wooden ceilings, and nearly any wooden item.
The shou sugi ban technique consists of three main stages:
- Charring involves exposing the wood to a gentle flame until it becomes charred. Due to the challenge of applying the flame uniformly across the entire surface, some areas of the wood will appear darker than others.
- Cleaning: Once the wood has cooled, it is brushed and scraped to eliminate the more prominent charred spots and to achieve a more uniform color.
- Finish: The wood undergoes treatment with mineral oil, linseed oil, or various natural oils to encapsulate the charred surface and provide additional safeguarding. The final result is a deep, glossy black hue.
Instruments for Utilization
The method of shou sugi ban involves using fire, which can be applied using a garden torch, commonly referred to as a weed torch.
A garden torch is a straightforward tool made up of a hose, a handle, and a broad nozzle at the tip. One end of the hose connects to a propane cylinder. The flame it produces is soft, mild, and easy to control.
A garden torch serves various purposes in the household, such as clearing away brush and weeds, melting ice and snow, igniting charcoal, and stripping paint. Given its versatility and affordability, purchasing a garden torch is often more practical than renting one.
Safety Factors to Keep in Mind
When using shou sugi ban, there is a significant risk of the wood igniting. It is essential to perform this task outdoors and in a well-ventilated area. Maintain a safe distance from any buildings or combustible materials.
The surface used for work must be made of concrete, brick, asphalt, or another non-flammable hard material. Nonetheless, it’s important to keep a fire extinguisher and water close at hand for extra safety.
Avoid using a butane torch. Additionally, keep in mind that in the final step, you will apply mineral oil to the wood, rather than mineral spirits, which is a flammable substance akin to paint thinner.
Ensure that wood that has been treated using the shou sugi ban method is allowed to cool down completely before utilizing it.
Requirements
Devices / Instruments
- Outdoor flame light
- Propane cylinder
- Cooking lighter
- Brush with an extended handle
- Artistic brush
- Water
- Flame suppressor
- Respiratory mask
Materials
- Cedar planks
- Flaxseed oil or petroleum oil
Instructions
Arrange the Boards
Arrange multiple cedar boards next to each other on the work surface. Keep the fire extinguisher and water within easy reach.
Illuminate the Torch
Open the valve on the propane tank. Squeeze the handle of the garden torch. Ignite the nozzle using a lighter from the kitchen.
Charred Timber
Move the flame gently over the wood’s surface. Start with a light touch. By maintaining a greater distance between the flame and the wood, you can achieve a more uniform char with less burning. If you take your time, you can achieve a flawless char on a 6-foot by 6-inch board in approximately five minutes.
Wooden Brush Charring
Wear the dust mask. Utilize the brush to remove the burnt wood from the board. Make sure to brush along the grain of the wood.
Tip
Begin with a light touch when brushing the wood. Applying too much pressure can easily remove excessive amounts of the charred surface. Starting softly allows you to gradually apply more force if necessary.
Clean the Boards
Position the boards at an incline. Apply water over the surfaces of the boards, starting from the top. This process aids in reducing the temperature of the boards and removes additional char residue.
Apply Oil to the Boards for Sealing
Allow the boards to dry completely for one to two days. Using a paintbrush, apply linseed oil or mineral oil to the burned areas of the boards. Allow the oil to penetrate before utilizing the boards. Exercise caution when handling them, as the charred residue may transfer to clothing or other surfaces.
Similar posts:
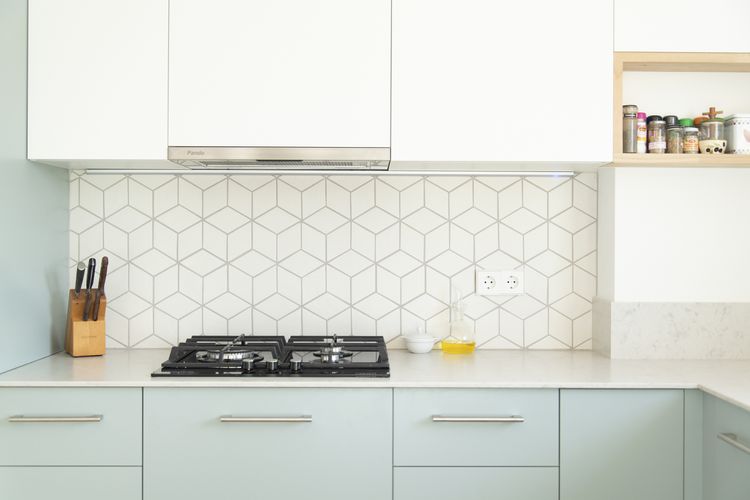 Steps for Taking Off a Tile Backsplash
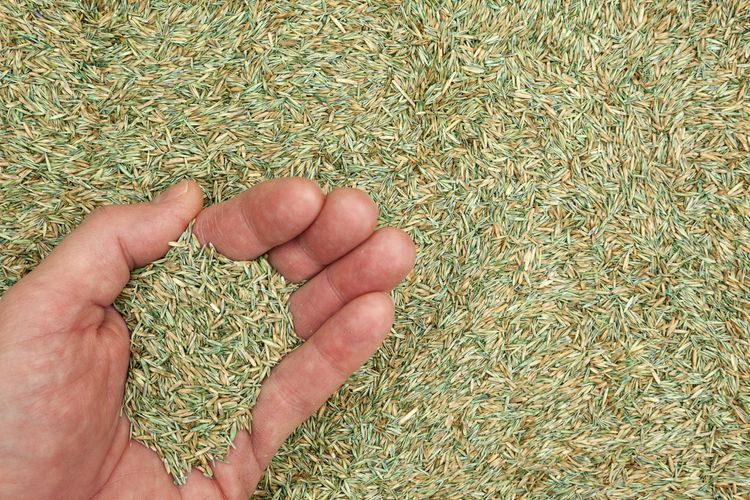 Signs That Your Grass Seed May Be Spoiled
 Electric Radiant Floor Heating: The Basics
 How to Unclog a Toilet With a Plunger: A Step-by-Step Guide
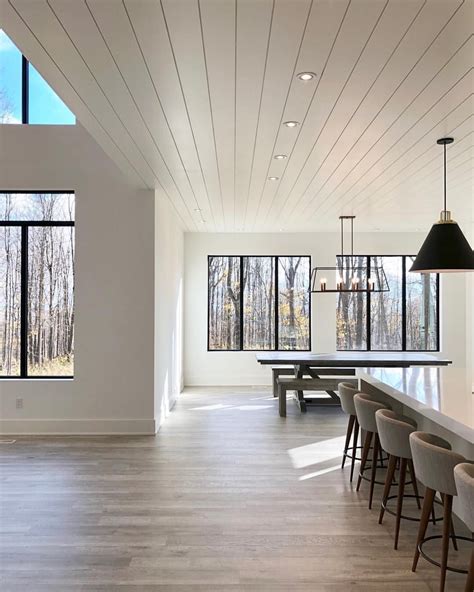 How to Install Shiplap on a Ceiling: A Step-by-Step Guide
 Common Garage Door Problems: Troubleshooting and Solutions