
Is your bathtub looking worn, dull, or outdated? Refinishing your bathtub with a DIY kit can give it a fresh and renewed appearance without the cost and hassle of a full replacement. In this step-by-step guide, we’ll walk you through the process of refinishing your bathtub using a DIY kit. With the right tools and techniques, you can transform your bathtub and breathe new life into your bathroom.
Before You Begin
Before you start refinishing your bathtub, it’s essential to gather all the necessary materials and ensure you have a clear understanding of the process. Read the instructions provided with the DIY kit thoroughly and familiarize yourself with each step. Additionally, make sure you have proper ventilation in the area to ensure a safe working environment.
Safety Considerations
When refinishing your bathtub, it’s crucial to prioritize safety. Wear protective gloves, safety glasses, and a respirator mask to shield yourself from chemicals and fumes. Work in a well-ventilated space and follow all safety precautions outlined in the DIY kit instructions.
Remove Hardware
Begin by removing any hardware attached to the bathtub, such as faucets, handles, and drain covers. Use appropriate tools like screwdrivers or wrenches to carefully detach and set them aside.
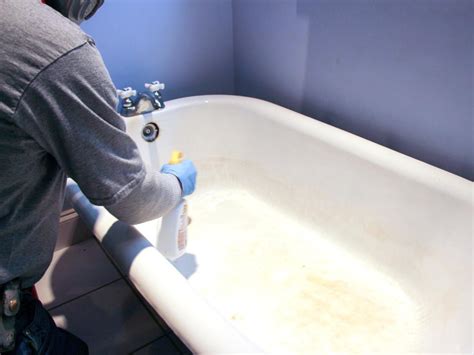
Clean the Bathtub
Thoroughly clean the bathtub using a non-abrasive cleaner and scrubbing brush. Remove any soap scum, dirt, or grime. Rinse the bathtub thoroughly and allow it to dry completely.
Mask Off Areas Around the Tub
Use painter’s tape and plastic sheets to mask off areas around the bathtub that you want to protect from refinishing products. Cover the surrounding walls, tiles, and fixtures to avoid any accidental spills or splatters.
Ventilate the Space
Open windows and use fans to ensure proper ventilation in the area. This will help to minimize the fumes and odors associated with the refinishing process.
Etch the Tub Surfaces
Follow the instructions provided in the DIY kit to etch the tub surfaces. Etching helps to create a better bond between the old surface and the refinishing materials, ensuring a long-lasting finish. Use a sponge or brush to apply the etching solution evenly and let it sit for the recommended time.
Sand the Tub
Once the etching solution has done its job, use sandpaper or a sanding block to smooth out any rough areas and create a slightly rough surface. This step helps the refinishing materials adhere better to the bathtub.
Wipe Down the Bathtub
After sanding, wipe down the bathtub with a clean, damp cloth to remove any dust or debris. Allow the tub to dry completely before proceeding.
Prime the Surfaces
Apply a coat of primer to the bathtub surfaces following the instructions provided with the DIY kit. Use a brush or roller to ensure even coverage. The primer helps create a strong foundation for the final coating.
Mix the Epoxy Coating
Prepare the epoxy coating according to the instructions provided. Thoroughly mix the components to ensure proper blending.
Using a brush or roller, apply the epoxy coating to the bathtub surfaces. Start from one end and work your way to the other, applying even and smooth strokes. Follow the recommended drying times between coats and apply additional coats as necessary for optimal coverage. Once the final coat has dried, remove the masking tape and plastic sheets. Caulk around the edges of the bathtub to create a watertight seal. Reinstall the hardware that was previously removed, ensuring a secure fit. While refinishing a bathtub with a DIY kit can be a rewarding project, there may be instances where it’s best to call a professional. If you encounter extensive damage, deep cracks, or have limited experience with home improvement projects, it’s advisable to seek professional assistance. They have the expertise and specialized tools to handle complex refinishing jobs. Small chips or cracks can often be repaired during the refinishing process. However, larger or more extensive damage may require professional repair before refinishing. Assess the condition of your bathtub and consult the instructions provided with the DIY kit to determine if it’s suitable for refinishing. The time it takes to refinish a bathtub depends on several factors, including the size of the bathtub, the condition of the surface, and the specific instructions provided with the DIY kit. Generally, it can take a couple of days to complete the entire process, including drying times between coats. When properly applied and maintained, a refinished bathtub can last several years. However, the durability of the finish may vary depending on factors such as usage, cleaning methods, and the quality of the refinishing materials. It’s important to follow the care instructions provided with the DIY kit to maximize the lifespan of the refinished bathtub. By following these step-by-step instructions and taking the necessary safety precautions, you can successfully refinish your bathtub using a DIY kit. With a little effort and attention to detail, you can achieve a beautifully refinished bathtub that enhances the overall look of your bathroom.Caulk and Reinstall Hardware
When to Call a Professional
FAQs (Frequently Asked Questions)
1. Can I refinish a bathtub with chips or cracks?
2. How long does the bathtub refinishing process take?
3. How long will the refinished bathtub last?
Similar posts:
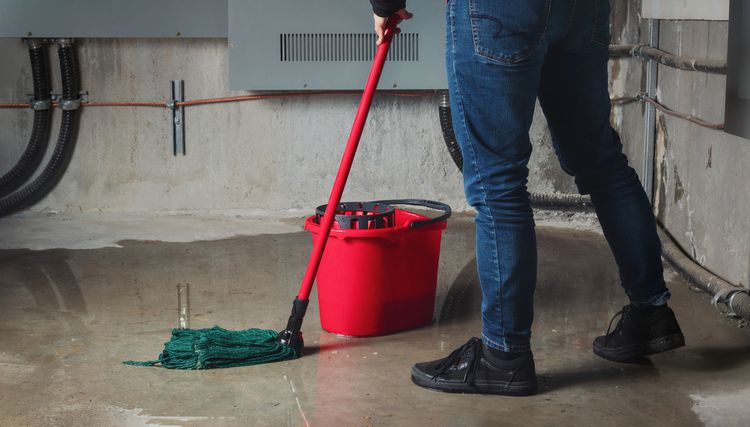 What is the Actual Expense of Waterproofing a Basement?
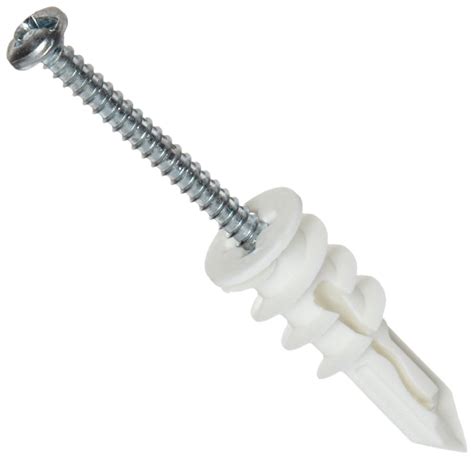 How to Use Drywall Anchors: A Comprehensive Guide
 How to Build Your Own House: A Step-by-Step Guide for Aspiring Homeowners
 How to Unclog a Toilet With a Plunger: A Step-by-Step Guide
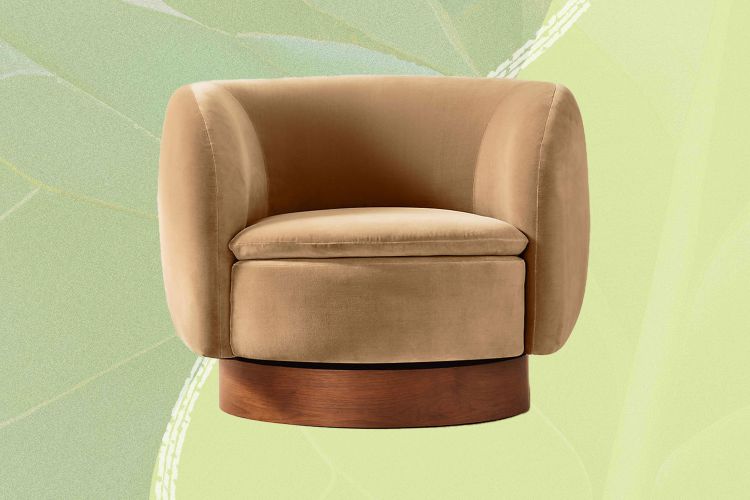 The Top Swivel Chairs Available Online for Your Consideration
 Ways to Make Your Sheets More Comfortable