
With more than 20 years of practical experience in renovating, repairing, and enhancing residences, Lee has been offering home improvement guidance for many years.
Floating ceramic tile floors offer the advantage of retaining the benefits of traditional tile while addressing many of the challenges associated with its installation. This innovative approach is based on the floating floor concept, where the tiles are connected to each other rather than being fixed to the subfloor. While laminate and various vinyl flooring options typically utilize this installation method, ceramic tiles have not been commonly associated with it. Could floating tile floors serve as a practical alternative to the conventional technique of installing ceramic and porcelain tiles with wet mortar and grout?

What Are Floating Tile Floors?
A floating tile floor consists of ceramic tiles that connect laterally but remain detached from the underlying surface. These tiles are secured to plastic trays, which interlock with adjacent trays using a tongue-and-groove mechanism. The tiles themselves do not bond with one another; rather, it is the trays that interconnect.
The trays automatically position the tiles and ensure proper alignment. While there is no need for thinset mortar beneath the tiles, grout is necessary to fill the gaps between them.
The floating floor system is frequently used alongside various flooring options, particularly laminate and luxury vinyl tile. The substantial weight of a floating floor, along with the friction it generates, helps to secure the flooring in position.
Three Characteristics of Floating Tile Flooring
Absence of Thinset Mortar Layer
Conventional tiles are placed on a layer of thinset mortar. During the installation process, a trowel is used to spread the mortar over the underlayment or subfloor. The trowel’s notched design is engineered to dispense the perfect quantity of mortar needed for tile placement. This mortar not only secures the tiles to the underlying surface but also fills any gaps that may exist between the tiles and the substrate.
Floating tiles do not need a mortar bed for installation. Instead, they are placed in plastic trays that replicate certain properties of mortar, though not entirely. Once set, the tiles cannot be detached from the trays. In contrast, other floating tile designs feature tiles that are secured to a smooth plastic board with interlocking tongue-and-groove edges.
Automatic Spacing
Conventional tiles necessitate the use of seams, which are subsequently filled with grout. Achieving these seams can pose challenges for numerous tilers. Cross-shaped spacers are utilized to ensure the seams are of the correct dimensions. Once the tiling is complete, these spacers are taken out.
Floating tiles feature integrated plastic spacers designed as plastic trays. The edges of these trays have interlocking teeth that connect neighboring tiles. The standard width is generally 3/16 inch.
Artificial Grout
In the case of conventional tiles, grout—either sanded or unsanded—is pressed into the gaps between the tiles using a rubber tool known as a float. Sanded grout includes fine sand particles, while unsanded grout is devoid of sand, making it ideal for narrow grout lines.
Floating ceramic tiles do not utilize conventional sanded grout. Instead, they necessitate a urethane-based grout, which allows for minor adjustments and movements within the floating floor system.
Advantages and Disadvantages of Floating Tile Flooring
- Automatic spacing refers to the process of adjusting the distance between characters, words, or lines in a text to enhance readability and visual appeal.
- Without any mortar.
- Lippage removed.
- Fat
- Hard to locate
- Expensive
- Restricted designs
- Seam width cannot be modified.
Pros
For numerous DIY tile installers, creating a thinset mortar bed can be one of the more challenging parts of the tile installation process. While the trowel is designed to dispense mortar consistently, it frequently fails to do so. This can lead to uneven layers of mortar, causing the tiles to be uneven and the edges to misalign. Additionally, thinset mortar is quite heavy, dense, and can be cumbersome to handle in large amounts.
A floating tile floor utilizes an integrated plastic base or tray in place of traditional thinset mortar. Provided that the subfloor is even, the tiles will also be even. This approach removes lippage, which is the height discrepancy between neighboring tiles.
Proper spacing of tiles is essential. In conventional tile installations, this is achieved by using separate tile spacers positioned between neighboring tiles. Typically, one spacer is positioned on each side, totaling four spacers for each tile. After the tiles are installed, the spacers are taken out. In contrast, floating tile floor systems ensure automatic spacing, as the trays or plastic bases are designed to connect at predetermined intervals.
Floating tiles can be installed more quickly than traditional mortared tiles since there is no need to prepare mortar. Additionally, the absence of a curing period for the mortar is a major advantage. Once the floating tiles are connected, they can be mortared right away.
Is Floating Tile Quicker?
Kwik-Tile conducted experiments and discovered that their floating tile solution, when placed over an existing sheet vinyl surface, was installed an average of 72% more quickly. This means that in just five to six hours, you could start grouting 200 square feet of floating tile, compared to the 18 to 22 hours required for a conventional installation.
Cons
A major drawback of floating tile floors is the limited number of manufacturers that offer them. There are only a handful of companies that produce floating tile flooring systems. This results in a restricted selection of colors and styles, in stark contrast to the vast array of options available with traditional mortar-down tiles.
Floating tile floors generally come at a higher price point compared to conventional tiles. This is primarily due to the inclusion of extra materials, such as a plastic base or tray, which contribute to the overall expense.
Adjusting the seam width to be either wider or narrower is not an option. The seam width is fixed.
When it comes to cutting, an additional step involves trimming the plastic backer. If you’re using a wet tile saw, this won’t pose a problem, as the saw blade can handle all the materials simultaneously. However, if you’re using a rail-style or snap tile cutter, you might have to cut the plastic backer separately after you have cut the tile.
Brands of Floating Tile Flooring
RevoTile
RevoTile is DalTale’s foray into the floating tile sector. The tile units are crafted from genuine porcelain, featuring plastic backing that connects seamlessly through a click-fit mechanism.
Like laminate flooring, RevoTile needs a pliable underlayment. The RevoTile panels must be grouted using their exclusive RapidGrout solution.
QuicTile
QuicTile represents an earlier version of a floating tile flooring solution from DalTile. Similar to RevoTile, QuicTile features a click-fit design with plastic backing. It is essential to install QuicPrep Underlayment beneath the flooring panels.
To complete the QuicTile installation, it is essential to use DalTile Quick Grout, which is a flexible, water-based grout.
Similar posts:
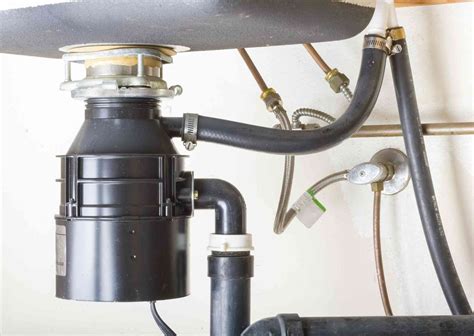 Quick and Easy Guide: How to Reset a Garbage Disposal for Smooth Functionality
 A Homeowner’s Guide to Water Pressure: Understanding and Troubleshooting
 The Basics of Roof Replacement: Cost, Materials, and Process
 Understand the Regulations for Clearance Above Power Lines
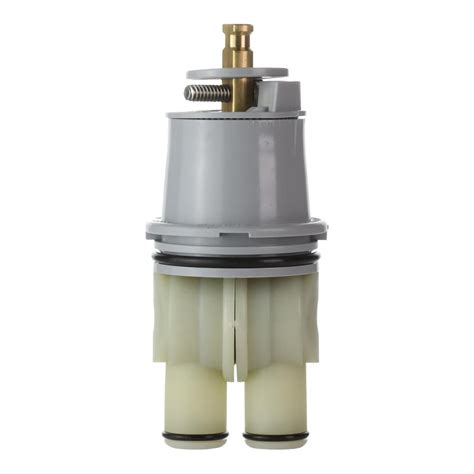 How to Replace a Shower Valve Cartridge: A Step-by-Step Guide
 Tips for Cultivating and Maintaining Brass Buttons