
Understanding the Importance of Draining Your Home’s Plumbing System
Regular maintenance is crucial to keep your home running smoothly, and one often overlooked task is draining your plumbing system. By flushing out stagnant water and residue, you can prevent clogs, reduce the risk of leaks, and prolong the life of your pipes and fixtures. In this comprehensive guide, we’ll walk you through the steps of draining your home’s plumbing system, ensuring you have the knowledge and tools necessary to tackle this essential maintenance task.
1. Gathering the Necessary Tools and Materials
Before you begin draining your home’s plumbing system, it’s important to gather the necessary tools and materials:
- Bucket or large containers: These will be used to collect the water as it drains from the system.
- Pliers: You may need pliers to loosen and tighten various connections.
- Towels or rags: Have some towels or rags handy to clean up any spills or leaks that may occur.
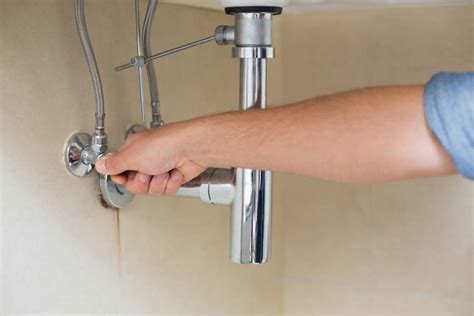
2. Turning Off the Water Supply
The first step in draining your home’s plumbing system is to turn off the water supply. Locate the main shut-off valve, which is typically located near the water meter. Turn the valve clockwise until it is fully closed, cutting off the water supply to your home.
3. Draining the Water from Faucets and Fixtures
Once the water supply is turned off, it’s time to drain the water from all faucets and fixtures in your home:
- Starting from the top: Begin by opening the highest faucet in your home, such as an upstairs bathroom or a shower on an upper floor. This will allow air into the system and facilitate the draining process.
- Working your way down: Move to each faucet and fixture in your home, opening them one by one until no more water flows out. Be sure to include outdoor faucets and fixtures as well.
4. Draining the Water Heater
Don’t forget to drain your water heater as part of your plumbing system maintenance:
- Turn off the power supply: If you have an electric water heater, switch off the power at the circuit breaker. For a gas water heater, turn the gas control valve to the “pilot” position.
- Attach a hose: Locate the drain valve at the bottom of the water heater and attach a garden hose. Place the other end of the hose in a suitable draining location, such as a floor drain or outside.
- Open the drain valve: Open the drain valve and allow the water to flow out completely. Be cautious, as the water may be hot.
- Close the drain valve: Once the water has fully drained, close the drain valve and remove the hose.
Conclusion
By following these simple steps, you can successfully drain your home’s plumbing system and keep it in optimal condition. Regularly draining your plumbing system helps prevent issues such as clogs and leaks, saving you from costly repairs in the long run. Make sure to schedule this maintenance task at least once a year to maintain the efficiency and longevity of your home’s plumbing system.
Remember, proper maintenance of your plumbing system is essential for a well-functioning home, and draining it is just one piece of the puzzle. Stay proactive and stay informed!
Similar posts:
 Steps for Taking Off a Tile Backsplash
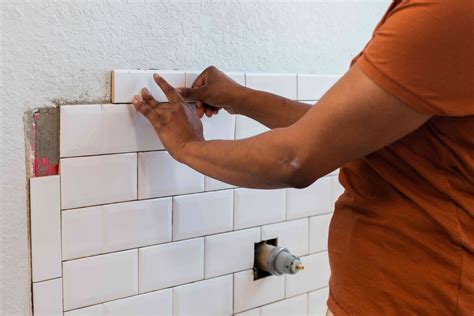 How to Install Wall Tile: A Step-by-Step Guid
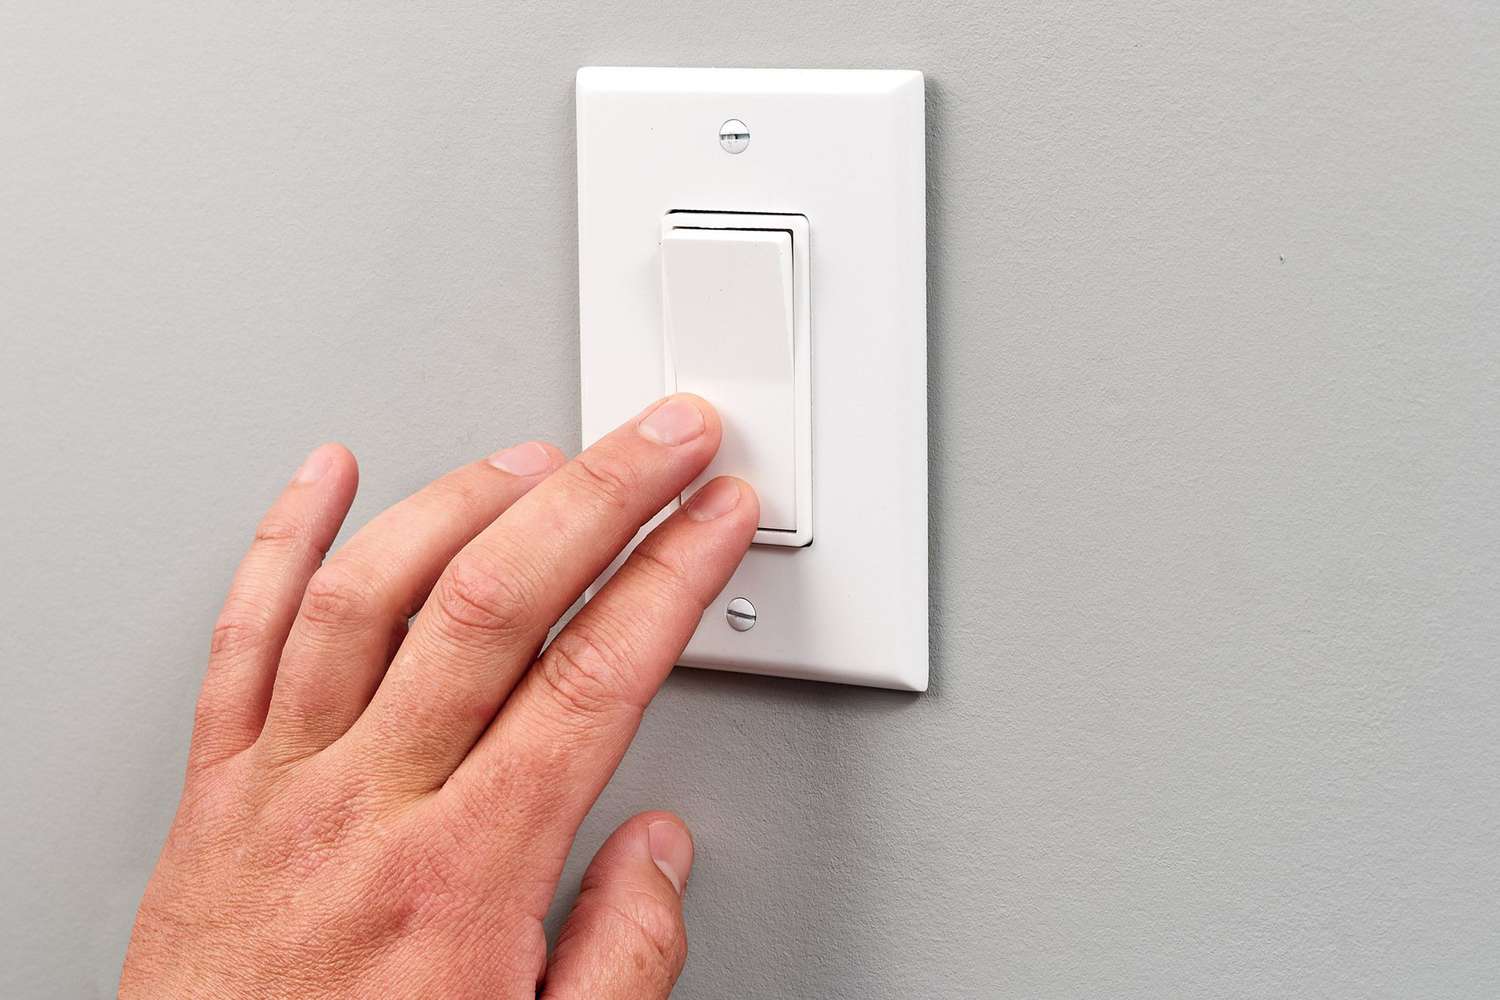 Steps to Repair a Non-Functional Light Switch
 What Are Standard Window Sizes? A Comprehensive Guide
 What You Need to Know About Your Eaves: A Complete Guide
 How to Paint a Bathroom the Right Way: A Step-by-Step Guide