
Barbara Gillette is an accomplished Master Gardener, herbalist, beekeeper, and journalist with three decades of expertise in cultivating and propagating a variety of fruits, vegetables, herbs, and ornamental plants.

Understanding how to grow basil allows you to maintain a constant supply for your culinary needs throughout the year, regardless of your location. There are numerous varieties of this fragrant and adaptable herb (Ocimum basilicum), and it’s quite easy to ensure your preferred type thrives, even in the off-season.
Here’s what you should understand to effectively grow basil from cuttings.
Methods for Growing Basil
Basil can be propagated in three different methods: using water to root cuttings, planting cuttings directly in soil, or starting from seeds.
Basil is a herb that thrives in warm weather, typically sown from seeds in early spring or directly planted in the garden when the soil temperature reaches between 50°F and 70°F. It germinates readily and is simple to grow from seeds. However, to maintain its growth during the cooler months, it is necessary to propagate it using cuttings from your established basil plants that were grown in the summer.
The Most Effective Method for Growing Basil from Cuttings
If you’ve ever placed freshly cut basil stems in water for cooking purposes, you might have observed that after about a week, the stems start to develop new roots. In a way, you’ve successfully propagated the basil cuttings in water.
Growing basil in water is a simple process that mainly involves regularly changing and replenishing the water. To propagate new basil plants using this method, you’ll need a sharp, sterilized pair of scissors, clean water, and a transparent glass, vase, or container.
- Select a few 4-inch sections from a healthy basil plant, steering clear of any stems that have flowers at their tips. Ensure that your cuts are made just beneath a pair of leaves or leaf nodes.
- Trim the cutting so that only the upper two pairs of leaves remain.
- Pour untreated water, such as distilled water or rainwater, into a transparent glass.
- Place the stems underwater while ensuring the upper leaves remain above the water’s surface.
- Position the glass on or near a sunlit windowsill to ensure it gets ample bright, indirect sunlight and warmth.
- Replace the water on a weekly basis or more frequently if it starts to appear murky.
- Roots should start to develop within a period of 12 to 18 days.
Tip
Basil that is rooted in water can thrive for a long time. However, over time, the plants will require more nutrients. This can be achieved by incorporating specific fertilizers into the water, a method known as hydroponics. Another option is to transfer the rooted basil into a soil medium, where it can absorb nutrients from the soil.
Methods for Growing Basil in Soil
Rooting basil cuttings in soil is akin to doing so in water. Both techniques are straightforward and tend to yield positive results.
Collect a clean, sharp pair of snips, deep containers with drainage, potting mix, and a plastic cover. Using a growth hormone is optional.
- Prepare one or more containers by adding a planting medium that is slightly damp. Premium potting soil is a suitable choice. You can either initiate multiple cuttings in a spacious 6-inch pot or place each cutting in its own smaller 4-inch pot.
- Utilize the snipper to obtain 4-inch sections from a fully grown basil plant, steering clear of any stems that bear flowers. Ensure that your cuts are made just beneath a pair of leaves or leaf nodes.
- Eliminate all leaves except for the uppermost two sets.
- Soak the ends of the cuttings in rooting hormone. This step is not necessary, as many cuttings can successfully root on their own.
- Utilize your index finger to create slender, deep indentations in the potting mix.
- Place a cutting into each hole, ensuring that the upper leaves remain elevated above the soil level.
- Firm the soil around each cutting to ensure it remains standing.
- Ensure the water is applied generously.
- Gently place plastic over the pot, ensuring it is not tightly sealed, and use a small stick or pencil to prevent the plastic from making contact with the cutting.
- Position the pots in an area that gets abundant bright, indirect sunlight and maintains warm temperatures. Ensure the soil remains damp, but avoid overwatering.
- Take off the plastic for about an hour each day to promote airflow and avoid the growth of mold.
- Once new leaves begin to appear, take off the plastic covering and inspect the cutting to determine if it has developed roots. If you feel resistance when you gently pull, it indicates that your basil cutting has successfully rooted. This process typically takes between two to four weeks.
Is it possible to utilize a basil plant that has recently been propagated?
Absolutely, you can harvest basil leaves from a newly propagated plant, but make sure to pick the leaves from the lower part of the plant rather than the upper section. It’s important to leave the top two sets of leaves intact, as they are essential for photosynthesis, root growth, and the plant’s overall development.
What is the method of reproduction for basil plants?
Basil plants can propagate by self-seeding, although the success rate of germination can be unpredictable. This herb is quite prolific, as each self-fertilizing flower can produce as many as 240 seeds. The most dependable method for cultivating basil is to plant it each year.
What is the best way to trim basil without harming the plant?
You can harvest leaves from a basil plant without harming it, as long as you don’t remove more than a third of the plant at a time. This method is effective for maintaining the health and productivity of most herbs. Additionally, trimming the basil encourages it to grow more branches and generate a greater number of leaves.
Similar posts:
 How to Address an Envelope: The Ultimate Guide
 Tips for Cultivating and Maintaining Monstera Lechleriana, a Unique and Exceptional Indoor Plant
 Tips for Cultivating and Maintaining Astilbe Plants
 Tips for Cultivating and Maintaining Ruscus Plants
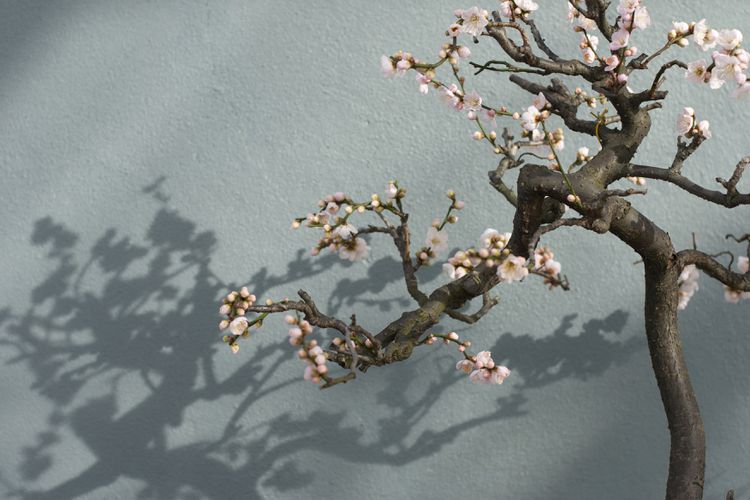 Tips for Cultivating and Maintaining Cherry Tree Bonsai
 Tips for Cultivating and Maintaining Rupturewort