
Project Summary
- Duration of Work: 20 minutes
- Overall Duration: 30 minutes
- Output: One repurposed table or floor lamp.
- Proficiency Level: Novice
- Projected Expense: Between $10 and $20
Lamps, whether they are floor or table models, can function effectively for many years. However, over time, they might require rewiring. This task is straightforward and can breathe new life into your lamp, enhancing its safety and appearance, all while being cost-effective and requiring minimal effort.
Fundamentals of Lamp Rewiring
Rewiring a lamp might be required due to damage caused by young children or pets, or simply due to prolonged usage. Cords can frequently become worn or frayed, particularly near the plug, unless secured with an underwriter’s knot. Floor lamp cords, in particular, are susceptible to wear from foot traffic. Additionally, if you acquire a vintage lamp, you may wish to rewire it for enhanced safety or to achieve a new aesthetic.
The positive aspect of rewiring a lamp is that producers have already considered the requirements of homeowners and DIY enthusiasts looking to rewire or modify a lamp for different purposes. There’s no need to buy separate components and figure out how to assemble them; the necessary solutions are already provided.
You can find lamp kits at your nearby home improvement store or craft shop. Typically, these lamp kits include:
- A minimum cord length of 8 feet is essential, particularly for floor lamps.
- 18-gauge wire
- A connector shaped and fixed at the wire’s termination.
- A replacement harp designed to fit into the socket and accommodate the lampshade.
- Socket designed for 660 watts and 250 volts.
- Socket designed for a standard base bulb, with a maximum capacity of 150 watts.
Safety Factors to Keep in Mind
Ensure the lamp is disconnected from the power source prior to any maintenance. Once the repair is complete, the lamp should be completely reassembled before conducting any tests.
Prior to Starting
Remove any items from a table or desk to prepare for the rewiring task. Ensure that the area is well-lit. Spread towels across the surface to safeguard both the lamp and the table, and to stop the lamp from rolling. Keep your tools within reach for convenience.
Requirements for Your Task
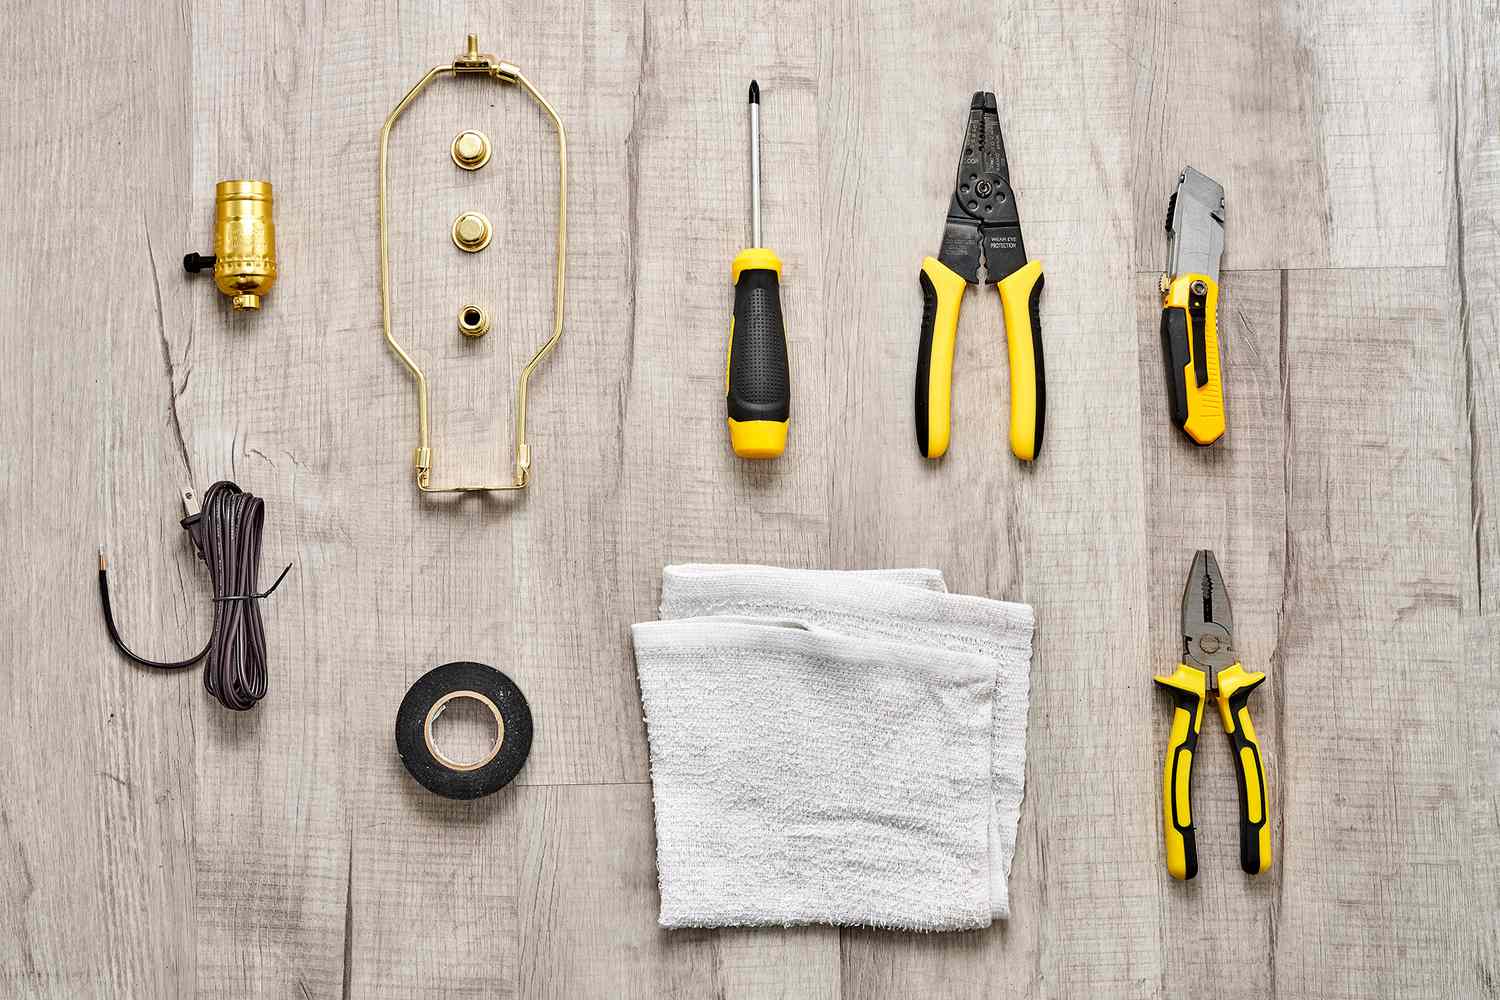
Devices / Instruments
- Cable insulation remover
- Box cutter
- Pliers
- Freshly laundered towels
- Screwdrivers
Materials
- Lamp wiring kit
- Adhesive (if required)
Instructions
Take off the lampshade and the light bulb.
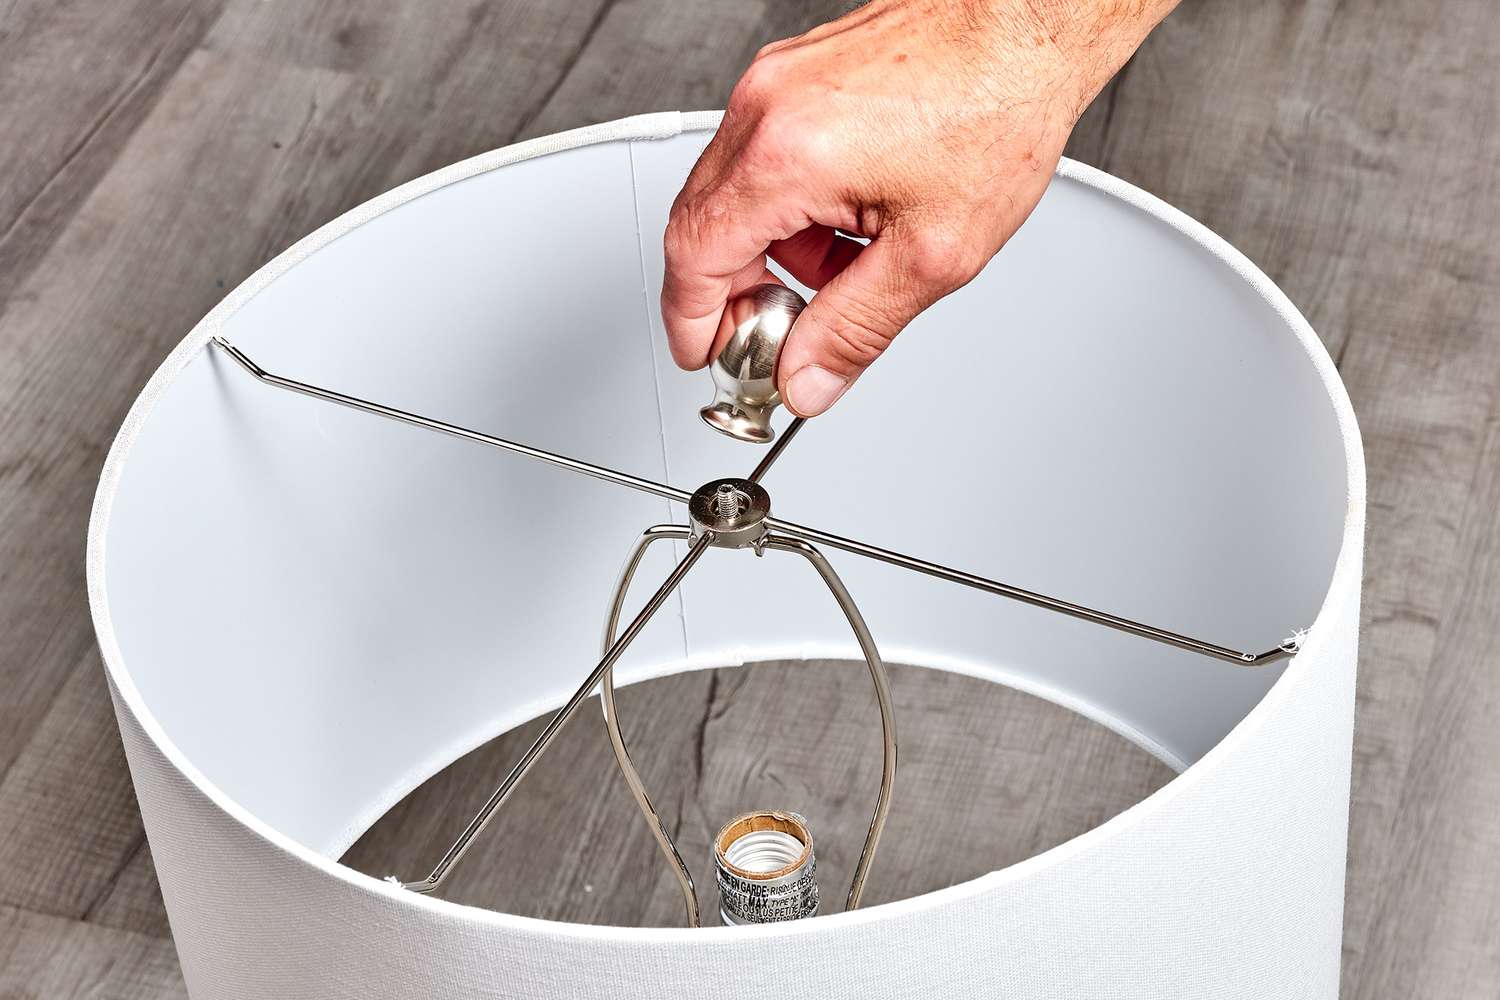
Disconnect the lamp from the power source. Take out the lightbulb. Manually twist the finial at the top in a counterclockwise direction to remove the lampshade.
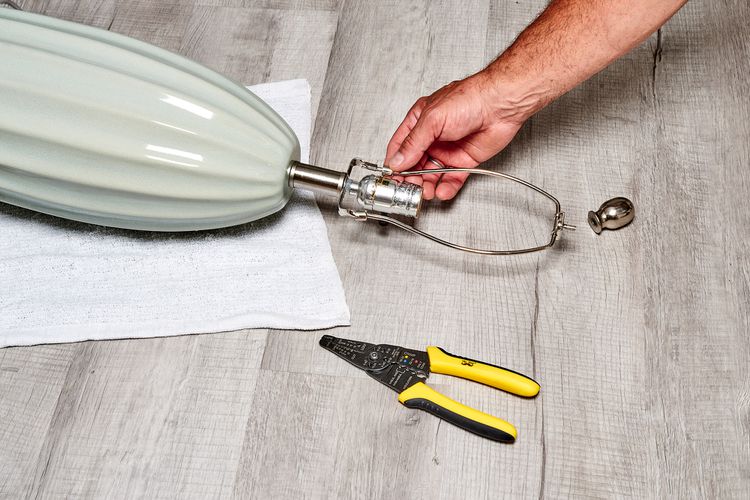
Take away the harp.
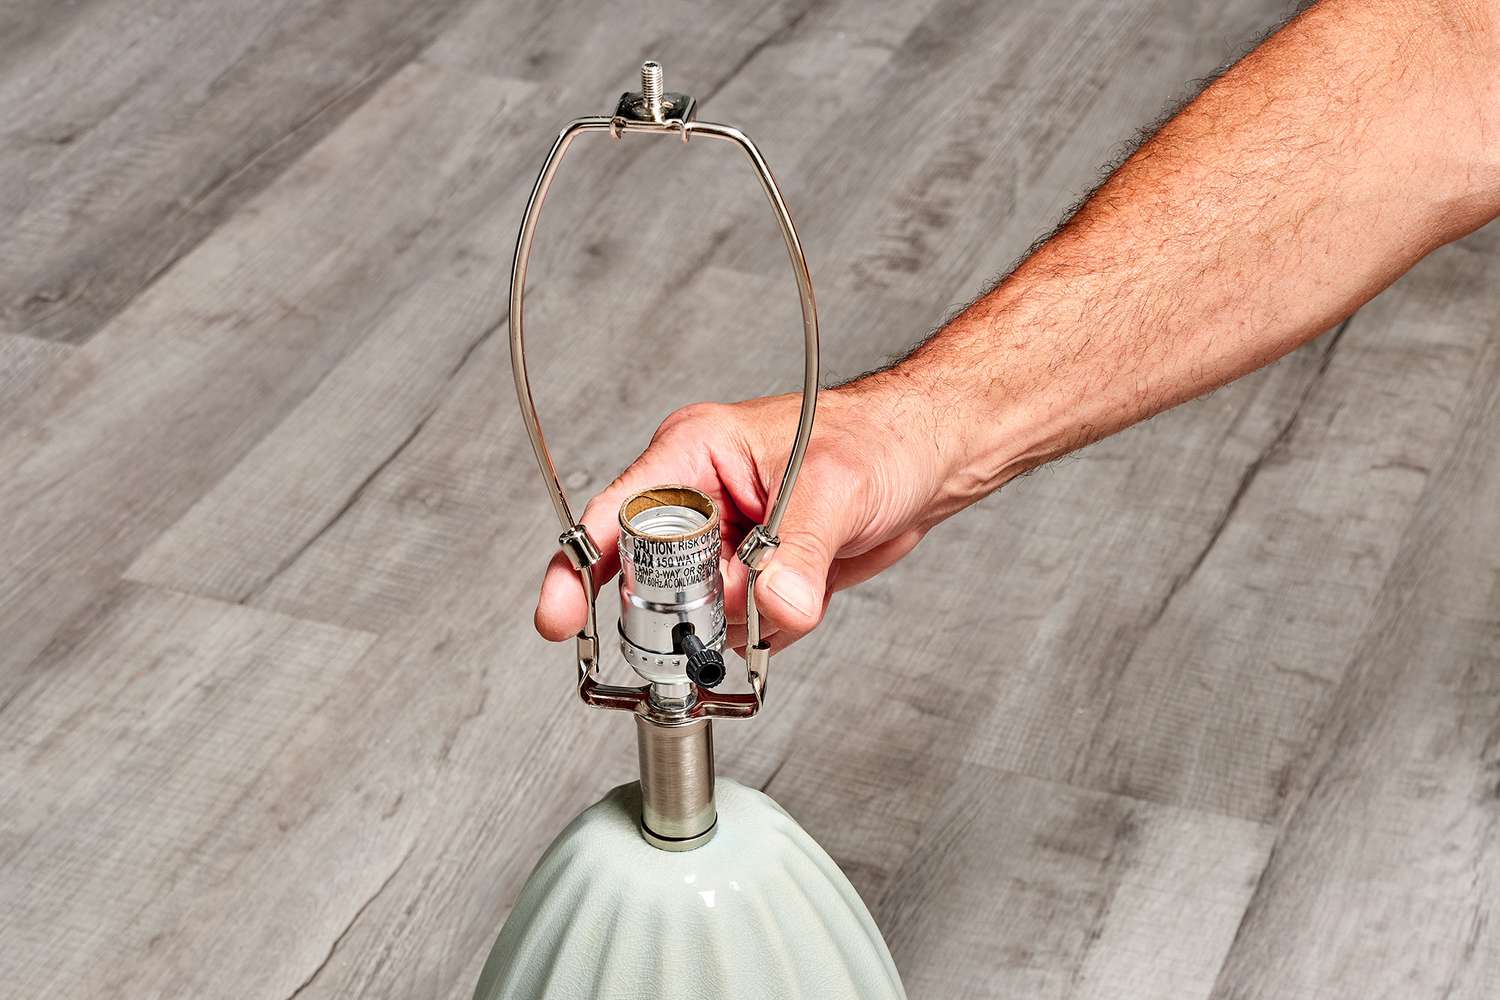
Remove the harp, which is the metal frame encircling the lightbulb that supports the lampshade. To detach the harp, carefully squeeze the two ends together while lifting it straight up.
Take off the protective base of the lamp.
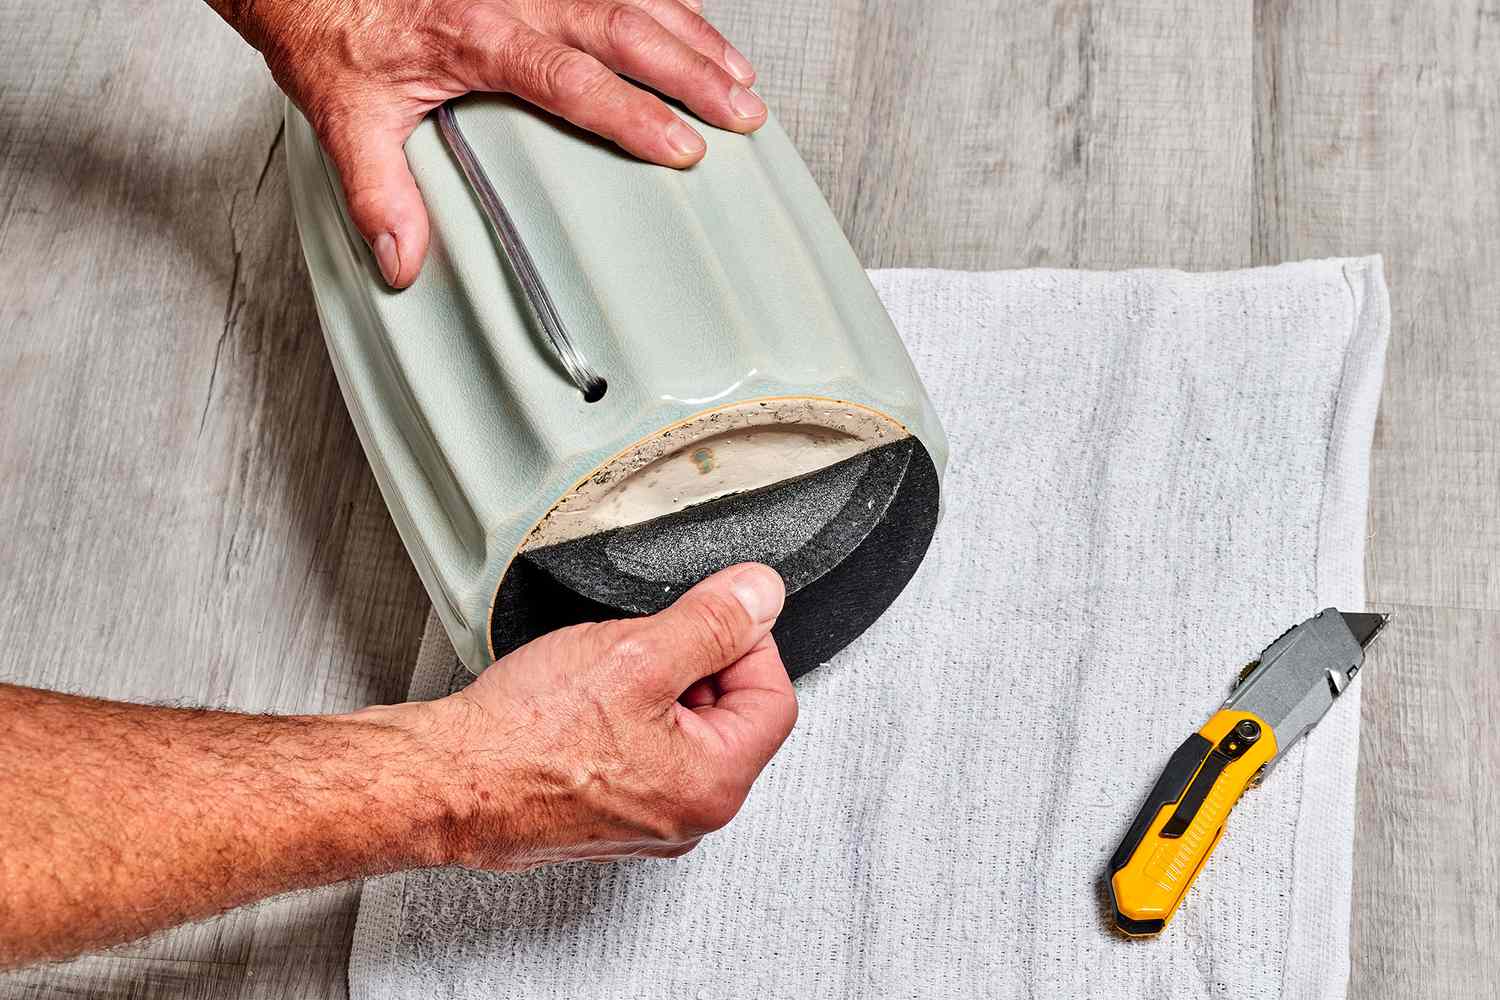
Gently remove the protective base located at the bottom of the lamp. Many lamps feature a base designed to safeguard surfaces like tables or floors. This protective layer is frequently constructed from felt-lined cardboard, particularly in the case of vintage lamps.
Relax the Socket.
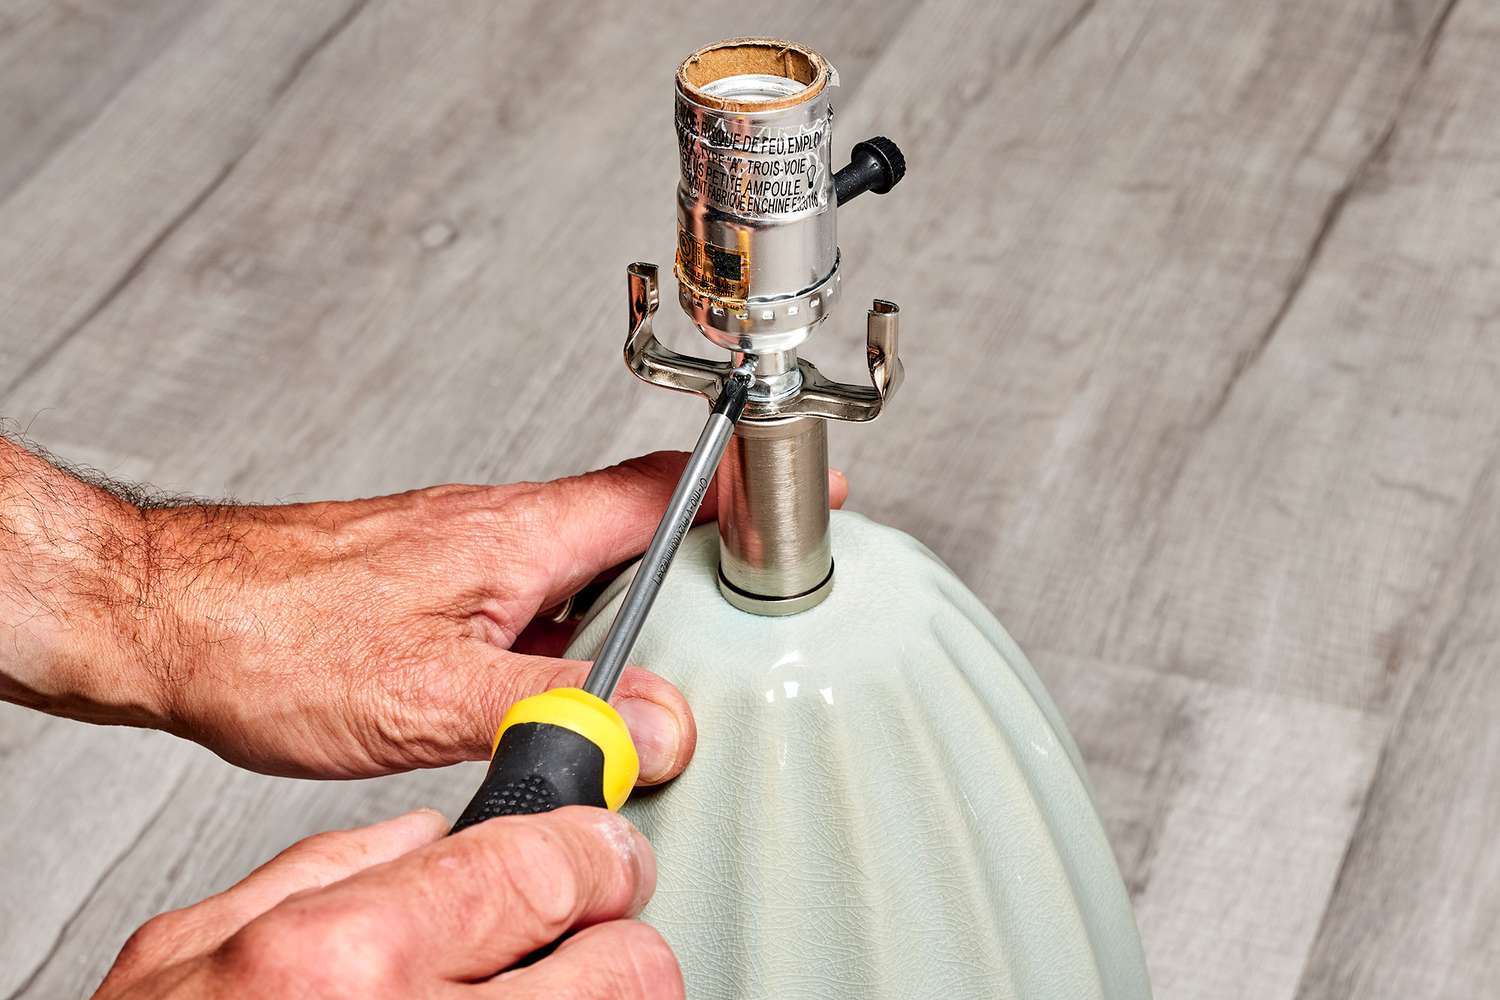
Use a screwdriver to loosen the screw located on the side of the socket. This screw secures the socket to the top of the lamp. Take the screw out. Rotate the socket counter-clockwise, but keep it in its position.
Remove the cord from the lamp.
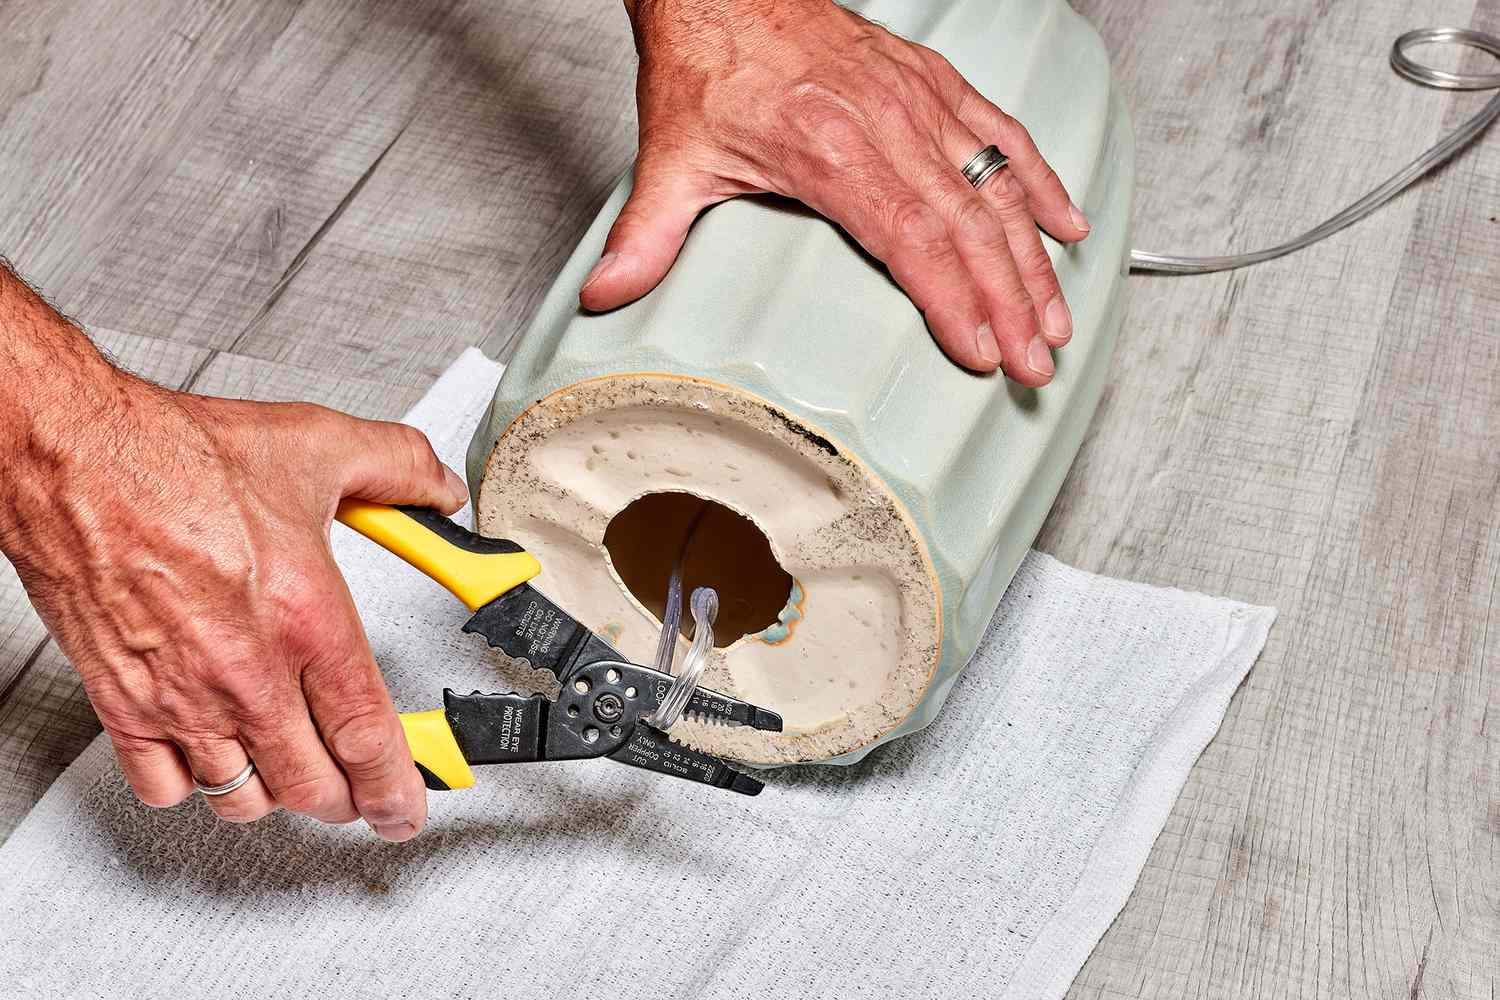
Utilize the cutting edge of the wire stripper to sever the electrical cord at the base of the lamp, ensuring to leave approximately 2 inches of wire remaining. Grasp the socket and gently pull it along with the connected wire.
Detach the socket from the casing.
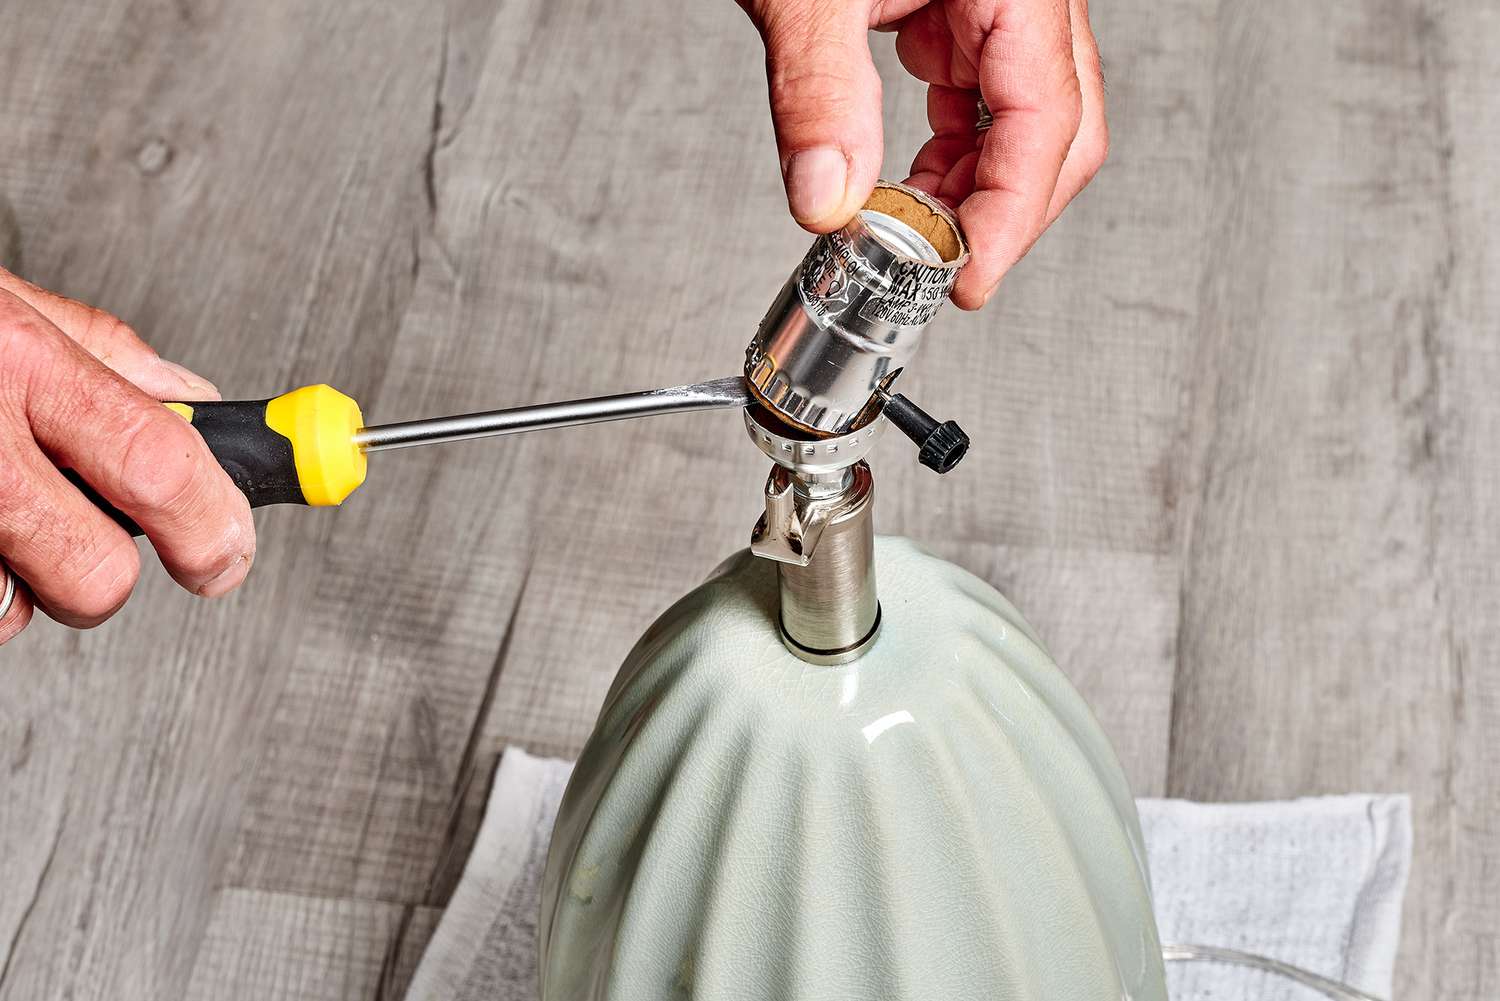
Use a flathead screwdriver to pry open the outer metal casing of the socket, revealing the inner socket. Take off the casing from the socket.
Insert the new wire into the opening.
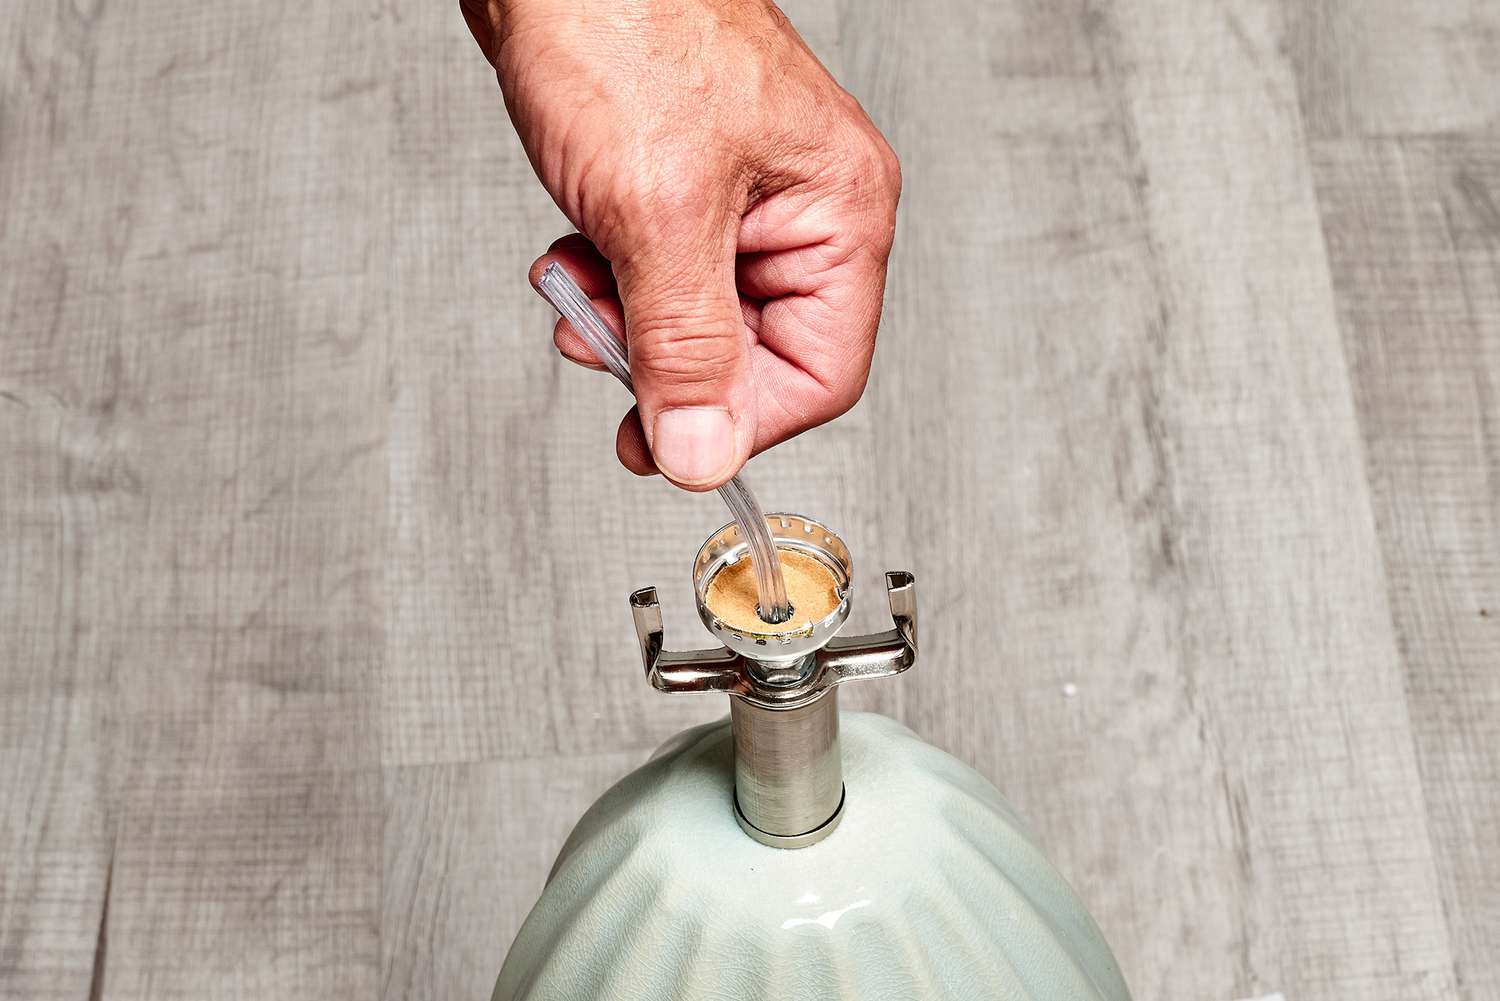
Pass the new electrical cord through the central post of the lamp, starting with the bare end of the cord. Fasten the wires together by using an Underwriter’s knot.
Tip
Ensure that approximately 6 inches of wire is left extending from the opposite end of the center post to give you sufficient space to work. You can cut off any surplus wire as necessary.
Connect the wires to the outlet.
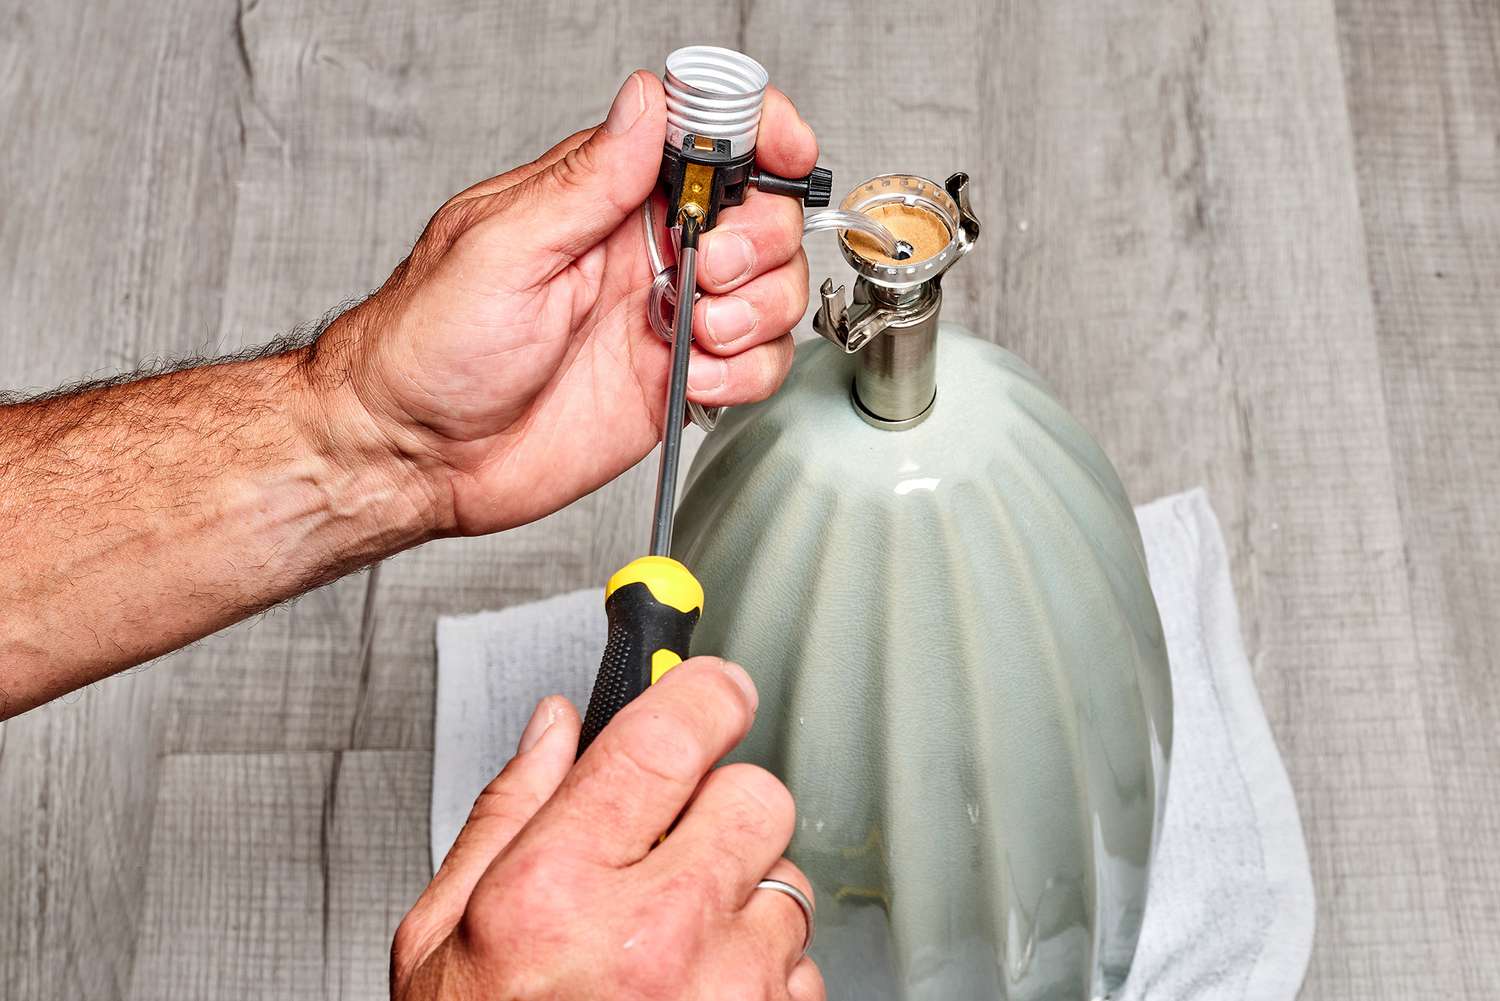
If the wire ends are not visible, use a wire stripper to remove the insulation. Connect the exposed wire ends to the terminals of the new socket. Secure the wires in place by tightening the screws with a screwdriver.
Tip
Typically, a socket features a screw that is silver and another that is brass. The silver screw is designated for the neutral wire, while the brass screw is for the hot wire. In the case of a clear cord, the wire that is copper in color is the hot wire, and the silver wire is the neutral. For cords that are white, brown, or black, the wire with a smooth texture is the hot wire, and the wire with ridges is the neutral.
Reconstruct the socket and the light fixture.
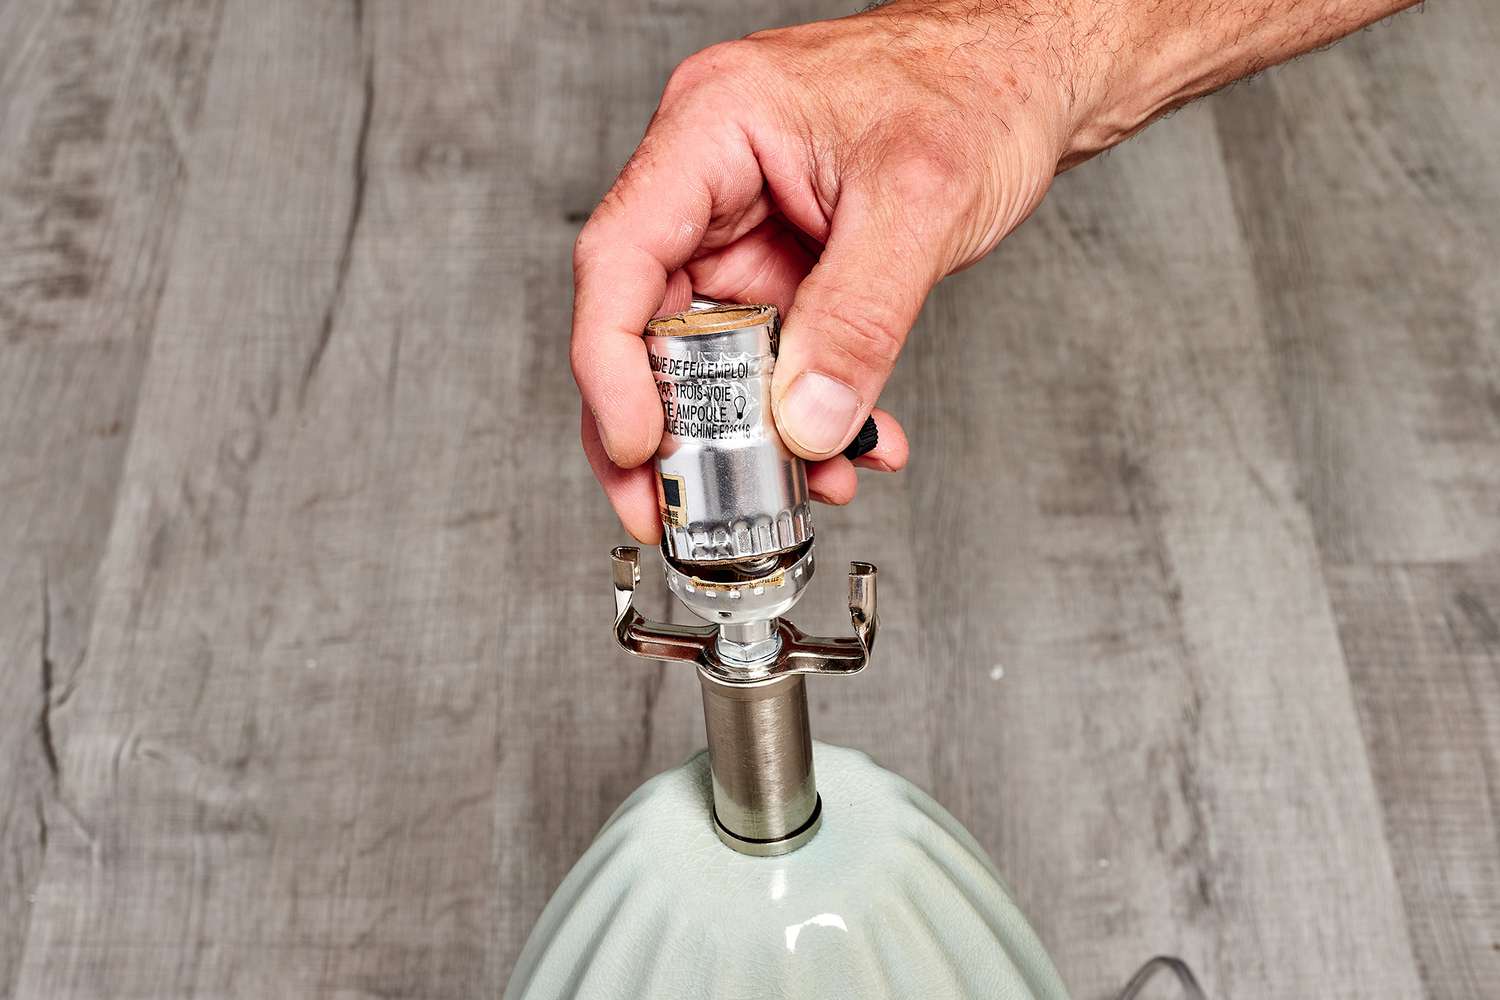
Reattach the socket shell to the socket. Secure the socket to the lamp. Allow any extra cord to extend from the lamp’s base. Reinstall the harp and then put the protective base back in place. It might be necessary to adhesive the protective base to the lamp’s bottom.
When to Seek Professional Assistance
Reach out to a lighting expert for assistance with rewiring delicate, antique, or particularly valuable lamps. Although you can follow the same techniques outlined here to rewire them, entrusting a special lamp to a professional ensures it receives the expert care it deserves.
Similar posts:
 Mexican Feather Grass: A Guide to Cultivation and Maintenance
 How to Paint a Wall Like a Pro: A Step-by-Step Guide
 How a Furnace-Mounted Home Humidifier Works: A Comprehensive Guide
 How to Install an Electrical Outlet Receptacle: A Step-by-Step Guide
 Guide to Electrical Connections in and Around the Home
 Ways to Organize Your Closet by Color