
For reliable perennials that thrive in sunny garden areas, the vibrant daylily stands out as a top choice. These resilient plants are remarkably hardy, resisting a variety of insect pests and diseases. Certain types, like the well-known ‘Stella D’Oro,’ can produce blooms for an impressive four months.
Daylilies offer the advantage of expanding their clump size annually, allowing gardeners to create divisions for planting in different parts of the garden or to give to friends and family. For those who are inexperienced in transplanting and dividing plants, daylilies are particularly accommodating.
What are the reasons for dividing and transplanting daylilies?
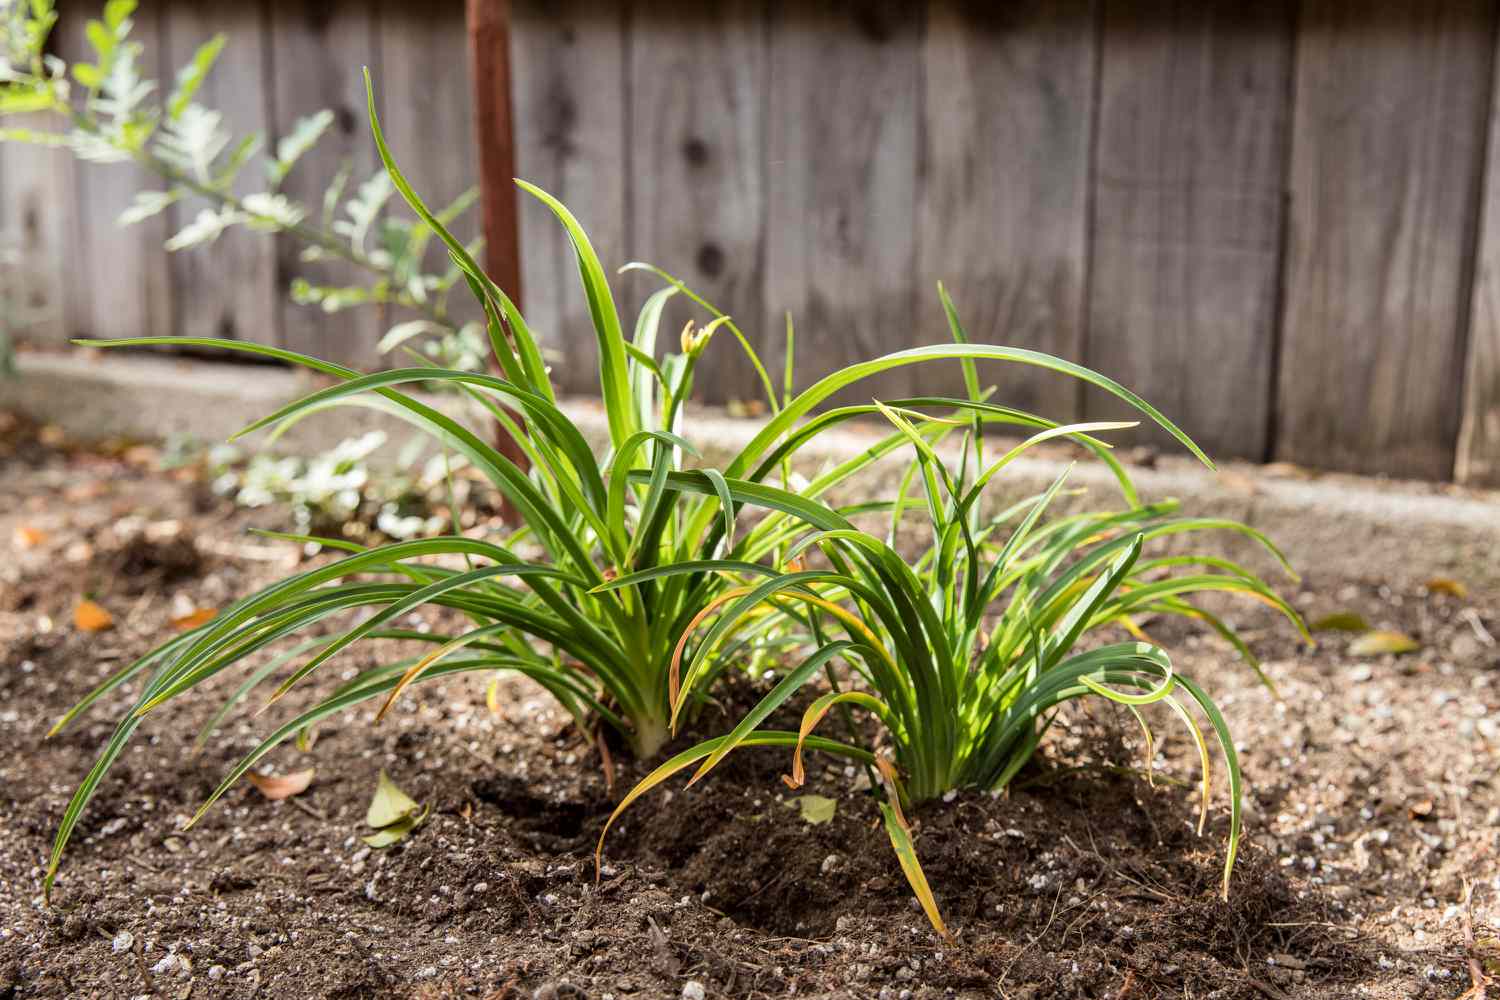
Witnessing a daylily garden expand and thrive more robustly with each passing year is truly rewarding. For weeks, these plants produce fresh flower scapes, and each morning reveals one or two new blossoms. Yet, as daylilies grow older, their root systems can become congested, vying for sunlight, nutrients, and water. The foliage above can become dense, creating shade and hiding the flowers nestled within the large clusters of leaves.
When you separate and transplant a daylily, you are taking a large, dense cluster and splitting it into smaller sections. This process not only expands your collection by generating additional plants, but it also revitalizes each individual plant, leading to a greater number of flowers in the upcoming season.
Relocating daylilies to a different spot allows for the chance to place them in a location with improved sunlight or soil conditions, especially if the initial site was less than perfect. This process enables you to transfer beloved varieties to a different section of your garden or to gift them to a friend. Given that new or rare daylily hybrids can cost over 20 dollars each, sharing your plants to create a new flowerbed is a smart strategy for gardeners looking to save money.
The Ideal Time for Daylily Transplantation
In every climate, the optimal period for relocating daylilies is in the spring, as the shoots start to appear. At this stage, the mild temperatures and light spring showers assist the newly divided and relocated plants in overcoming transplant shock. While the precise timing is not crucial, transplanting sooner rather than later enhances the likelihood that the plants will recuperate sufficiently to flower later in the season.
In the southern regions (USDA planting zones 8 and above), it’s also possible to move daylilies in the autumn. It’s best to wait until the end of September, after the summer heat has subsided.
Methods for Excavating and Separating
Prior to excavating and separating your plants, select and ready the new location for planting. Daylilies thrive best with a minimum of six to eight hours of direct sunlight to bloom effectively. For red or purple varieties, a bit of afternoon shade is beneficial to prevent the flowers from fading or getting scorched. Incorporate compost into the soil and loosen it to a depth of 12 inches.
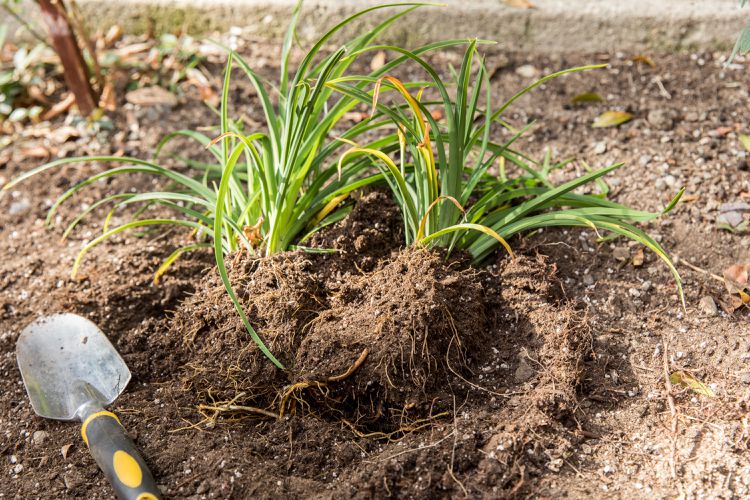
Gently excavate the area surrounding the established daylily cluster and lift the plant from the soil. Assess the cluster to decide the number of divisions to create.
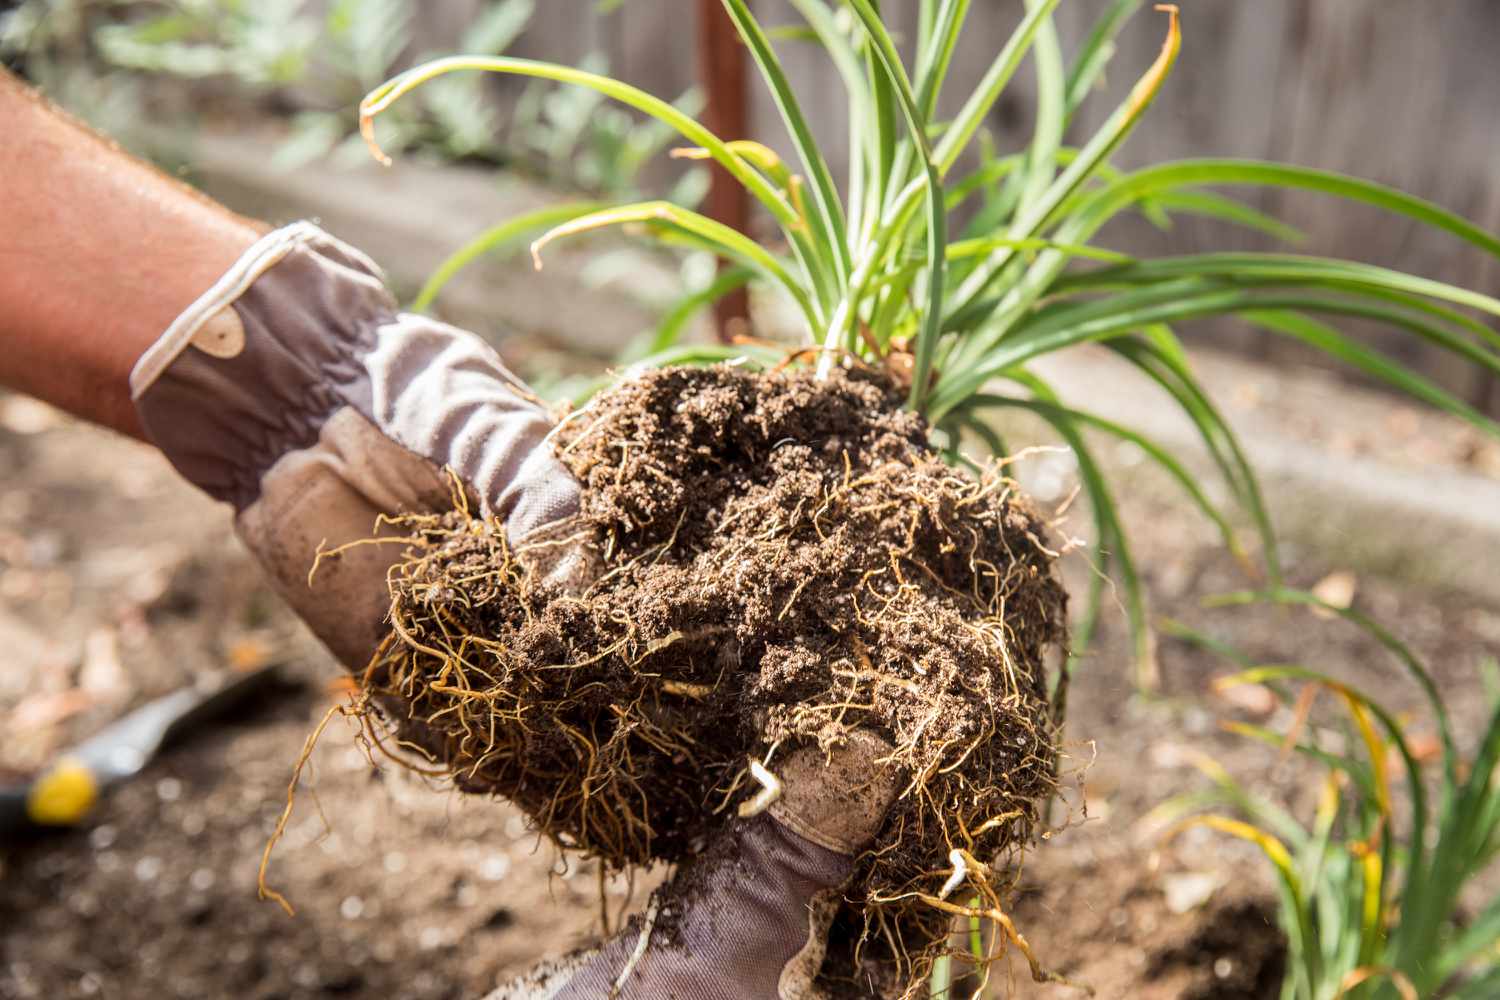
Gently remove any excess soil using your hands or a hose until you can clearly identify the appropriate sections to separate the daylily clump. Utilize a sharp, clean garden knife, such as a hori hori, to cut through the thick root system. Don’t worry if the knife cuts through a root; the plant can recover. Set the divided sections in a shaded area and let the cuts dry in the air as you continue your task.
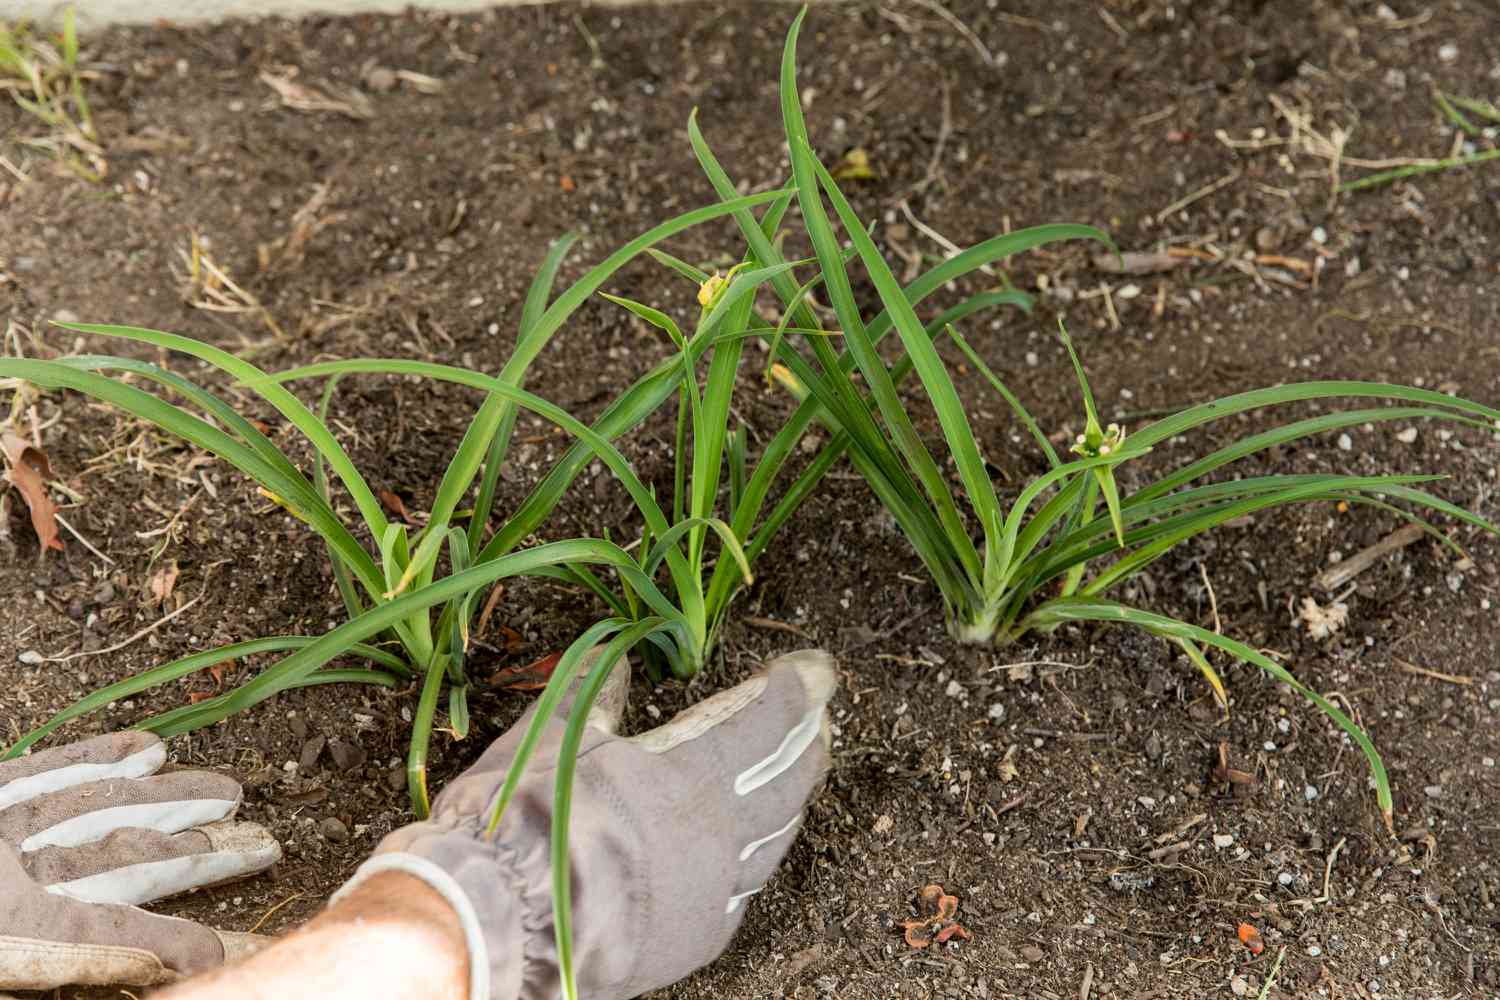
It’s time to replant the daylily.
Excavate a hole that is a bit wider than the root ball of the daylily division. In the middle of the hole, create a small mound using a blend of native soil and compost, and position the roots over this mound. Ensure that the crown, where the leaves meet the roots, is level with the surrounding soil, avoiding excessive planting depth. Gently backfill the hole with soil, making sure to eliminate any air pockets. Water the newly planted daylily generously to help it establish well.
Nurturing Daylilies Following Their Relocation
Having successfully unearthed and relocated your daylily divisions, it’s time to treat them like fresh, new plants. Any plant that has been uprooted from its secure position in the ground, subjected to drying winds, and has experienced root damage will require some tender loving care to thrive once again.
Regular watering is crucial for maintaining the health of daylilies. These plants require sufficient moisture in the spring to develop new buds, and providing a thorough watering that penetrates eight to ten inches into the soil will help transplants establish robust root systems. It’s best to water at the base of the plants instead of from above to minimize the risk of wet leaves, which can promote fungal diseases such as daylily rust.
Apply a balanced liquid or granular fertilizer to nourish the plants approximately two weeks post-transplanting, once they start to exhibit signs of new growth.
Throughout the growing season, employ a mix of hand weeding, hoeing, and mulching to eliminate weeds that vie for sunlight, nutrients, and moisture in the soil. Maintaining a weed-free environment in daylily beds also prevents insect pests, such as slugs and thrips, from finding shelter and breeding.
Soon, your newly planted daylilies will thrive, displaying vibrant green foliage and sending up fresh scapes and flower buds.
Similar posts:
 What is an In-Law Suite, and is it worth considering for your home?
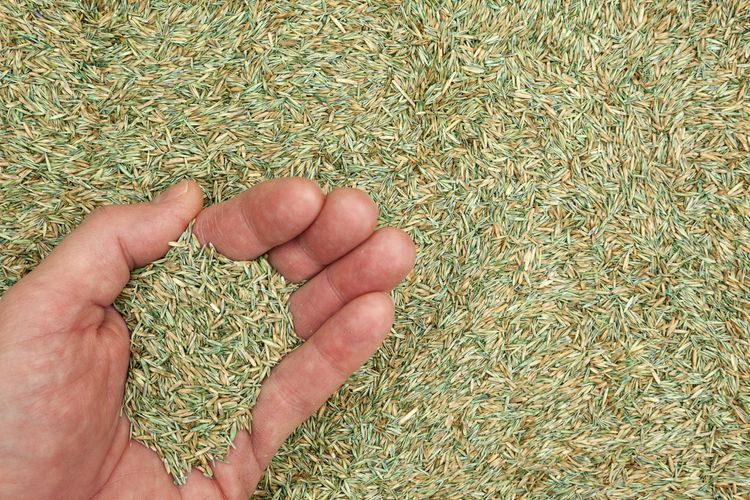 Signs That Your Grass Seed May Be Spoiled
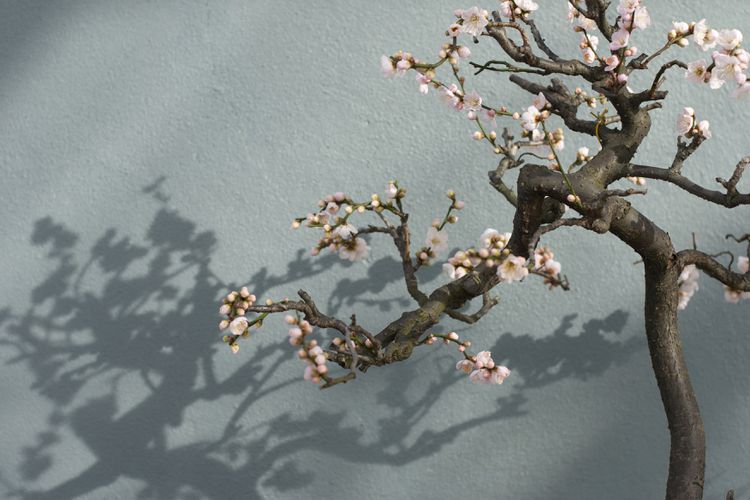 Tips for Cultivating and Maintaining Cherry Tree Bonsai
 Tips for Cultivating and Maintaining Astilbe Plants
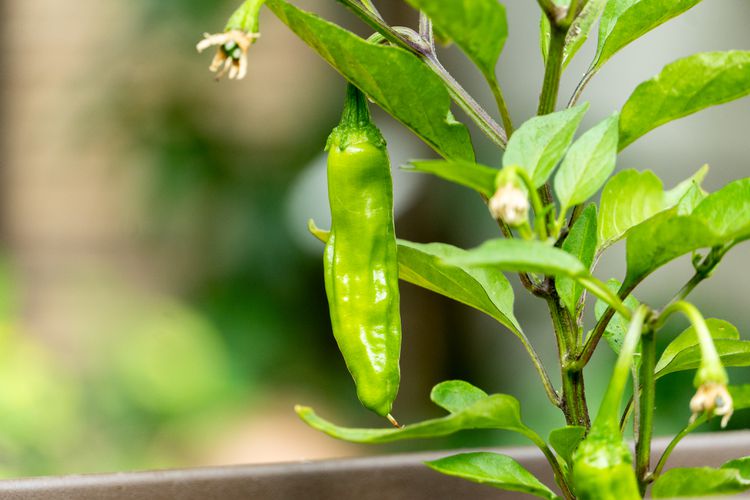 Tips for Cultivating and Maintaining Shishito Pepper Plants
 Tips for Cultivating and Maintaining Monstera Lechleriana, a Unique and Exceptional Indoor Plant